
Emission Lines
The idea
What this lesson is about
Learn what causes the Aurora Borealis and why it appears in different colors, then create an oil pastel night scene of auroras over the Puget Sound.
Tonight you are an artist-explorer heading into our own atmosphere.
The Aurora Borealis is a natural light display that happens when particles streaming off the Sun collide with gases high above the Earth. Those collisions make the gases glow — and the color tells you which gas lit up, and how high it was.
In 2024 the aurora was visible right here over the Pacific Northwest. This lesson turns that night into a picture: glowing curtains of light above our own skyline and water.
The science
Why it actually happens
How deep do you want to go?
The lesson. Everything you need to make the art and know why it works.
Why the colors change
Drag up through the atmosphere. Watch which gas is glowing, and what color it makes.
Green and red both come from oxygen — the difference is only how high up it is. Blue and purple come from nitrogen.
Why it only happens near the poles
Turn up the solar wind and watch where the particles end up.
A normal night. The Arctic Circle sees it: Fairbanks, Tromsø, Iceland.
Earth is wrapped in a magnetic field. It deflects most of the solar wind, and funnels what gets through down toward the two poles — which is why auroras ring the Arctic and the Antarctic.
Find the science in the painting
This is Ayesa's own aurora painting. Tap the dots — every color in it is a real clue about the sky.

Green sits lowest, just above the ridgeline. It is oxygen glowing — and oxygen glows green when it is lower in the atmosphere, below about 250 km, where there is plenty of it.
The purple curtains are nitrogen rather than oxygen. Nitrogen takes over higher than about 100 km and gives the aurora its violet edge.
Near the top the color warms to pink and red. That is oxygen again — but much higher, above roughly 250 km. Red is rarer because there is so little oxygen up there; it shows mostly when the Sun is especially active.
The deep blue at the edges is nitrogen at the lower end of its range, under about 100 km. Blue and red are both signs of a strong solar storm.
What is actually glowing
An aurora is a gas doing something specific, and the colors are the evidence.
Particles from the Sun — mostly electrons — spiral down along Earth's magnetic field and slam into atoms in the upper atmosphere. A collision knocks an electron in that atom into a higher energy level. It cannot stay there. When it drops back down, the atom releases the extra energy as a single particle of light, and the color of that light is fixed by the size of the drop.
So each gas has its own colors, always the same ones. Oxygen gives the familiar green, and a deep red from a different, higher-energy drop. Nitrogen gives blues and purples.
Altitude sorts them because the atmosphere sorts itself: nitrogen dominates the lower reaches, oxygen the thin heights. Green oxygen is most common around 100–150 km, red oxygen sits far above that, and the blue-purple nitrogen fringe hangs at the bottom of the curtain. When you place your colors by height in this painting, you are recording real chemistry.
Why the red is slow
The green line of an aurora is at 557.7 nm and the deep red at 630.0 nm. Both come from atomic oxygen, and the difference between them explains the whole vertical structure of a display.
Both transitions are forbidden — quantum-mechanically improbable. So the excited states are metastable: they hang about instead of emitting straight away. The green state lasts about a second. The red state lasts around two minutes.
That lifetime has to compete with collisions. Down where the air is thick, an excited atom is struck by a neighbor long before two minutes are up, and the energy leaves as motion instead of light. That is collisional quenching. Only very high up, where the air is thin enough for two minutes to pass undisturbed, does the red survive to be emitted. Hence the ordering you paint. Red only at the top, green through the middle, and nitrogen's prompt blue-violet at the bottom edge, where the incoming particles finally run out of energy.
The whole display is steered by the magnetosphere, which funnels particles into two auroral ovals around the magnetic poles. When a coronal mass ejection squeezes that field hard enough, the ovals swell south. That is how, in May 2024, an aurora came to be photographed from Washington State.
Go further
An aurora is glowing green low in the sky. Which gas is lighting up?
What you need
Gather these before you start
Oil pastel on black paper is the whole trick: the dark ground makes the light look like it is glowing from behind.
Make it
Gather your things, then paint
Paint the night
There are no wrong shapes in an aurora — only light and movement. That is what makes it such a good way to practice blending.
-
Plan the horizon first
Where does your land stop and your sky begin? That line is called the horizon. Try it out on scrap paper first. Keep your horizon low, near the bottom of the page. The sky is the star of this picture, so give it most of the room.
about 5 minutes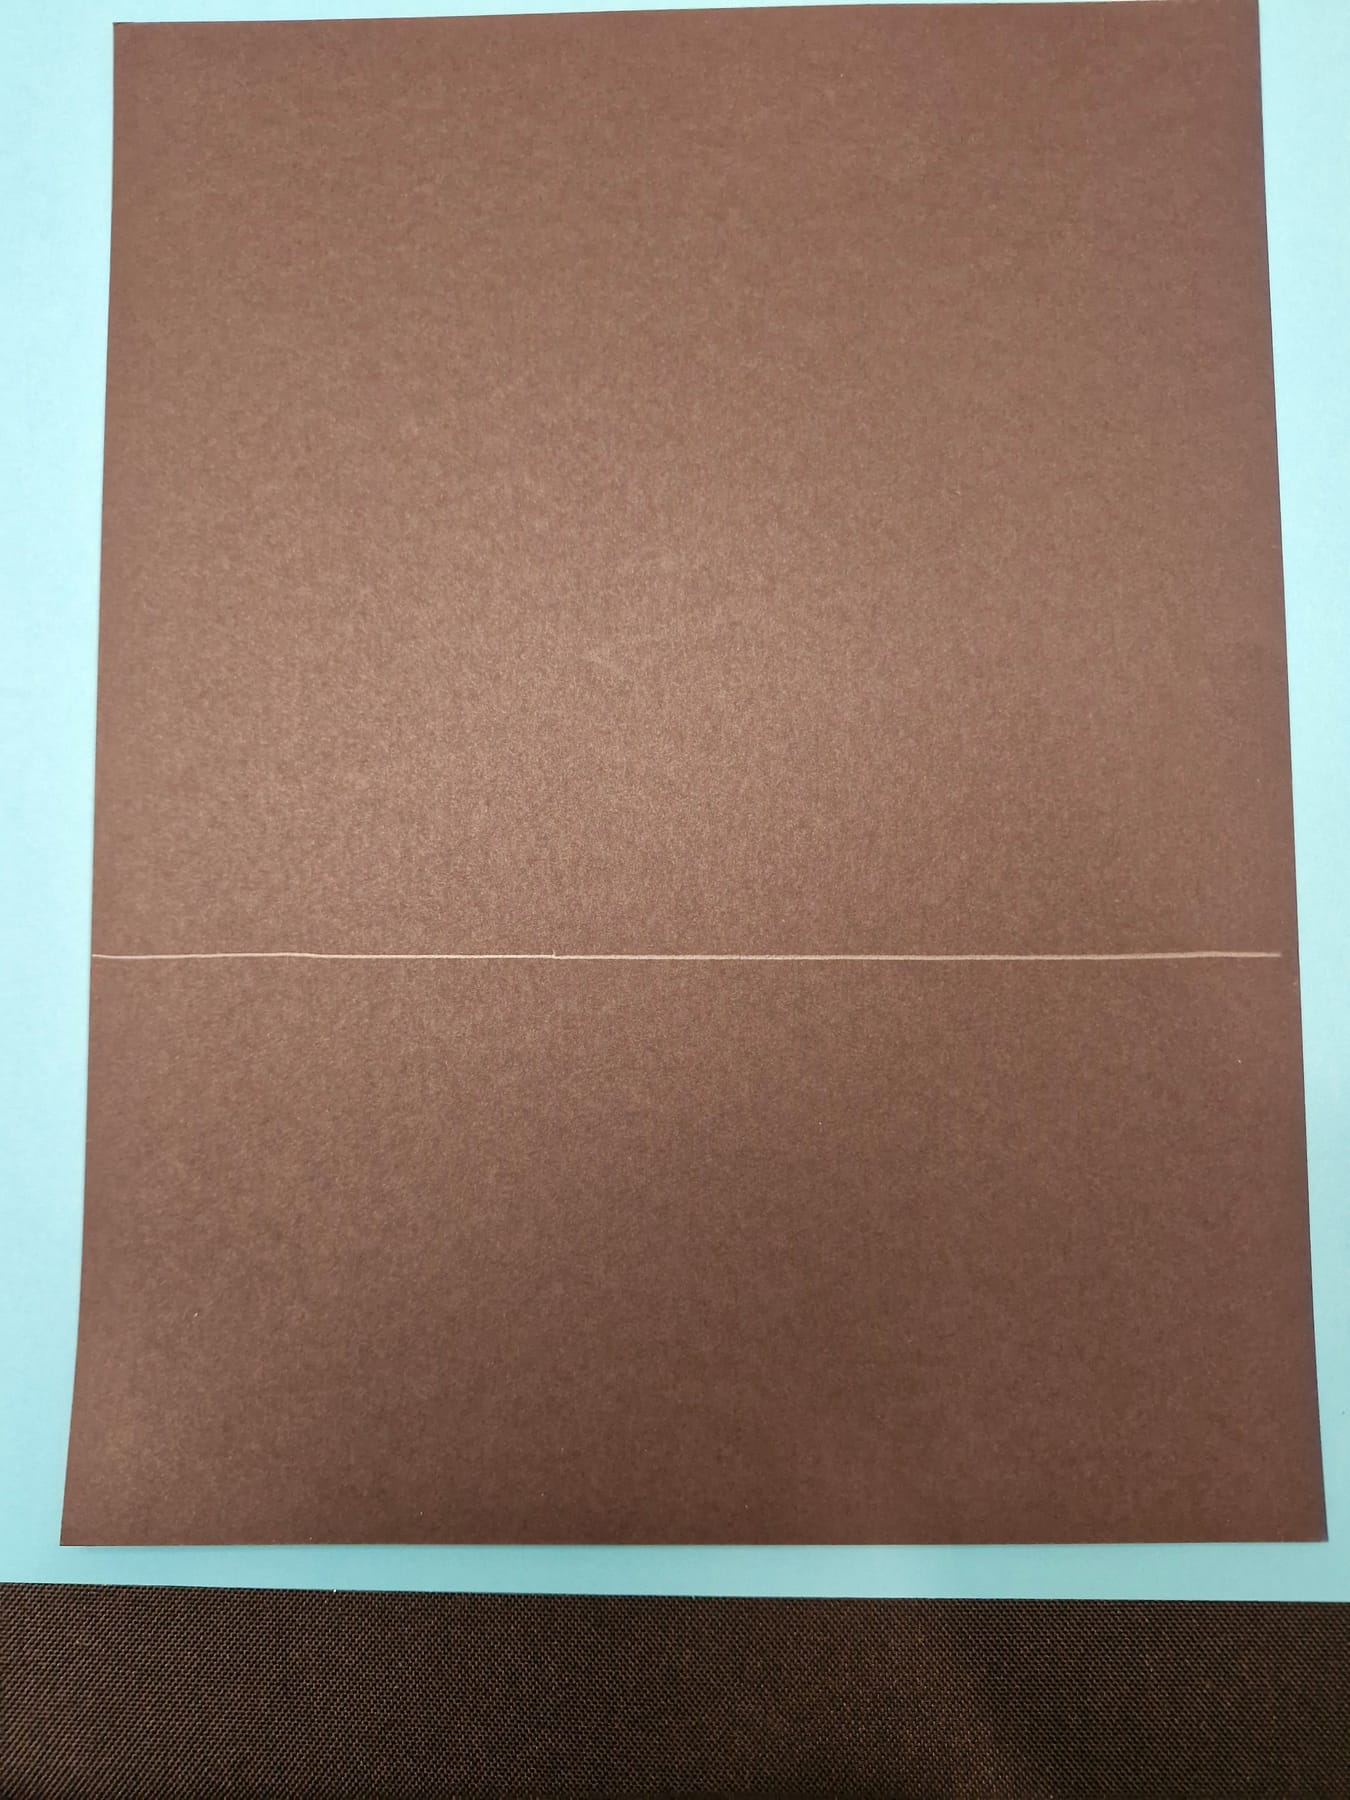
A low horizon makes a sky feel huge.
-
Tear three curvy pieces
Take a sheet of white paper. Draw two long wavy lines across it, from one side all the way to the other. Wavy lines, never straight ones. Now tear along each line. Hold the paper down with one hand and pull slowly with the other. Tear it — do not cut it. Now you have three pieces, and every torn edge is soft and fuzzy. That fuzzy edge is what turns your pastel into light.
about 5 minutes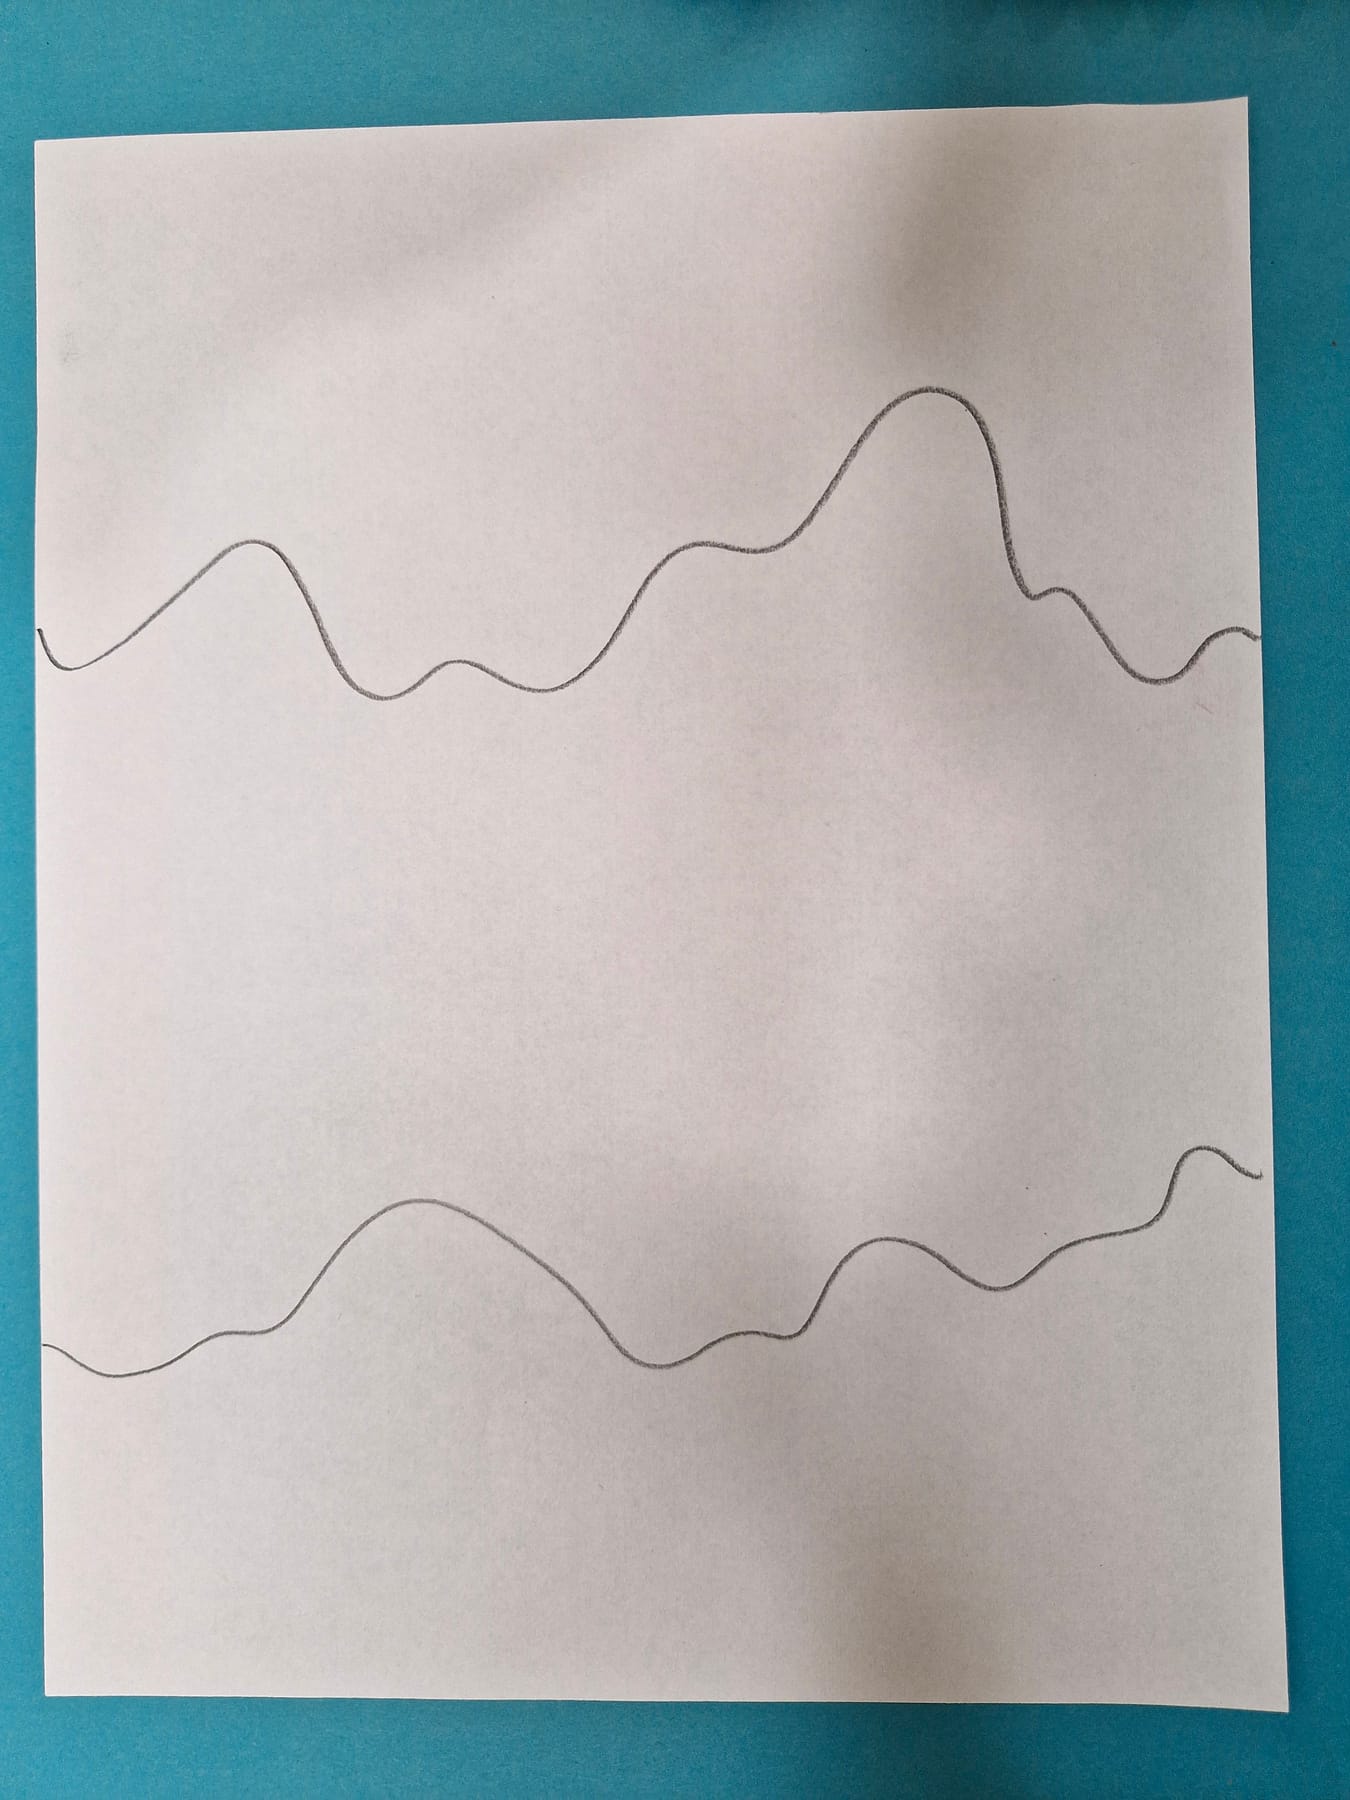
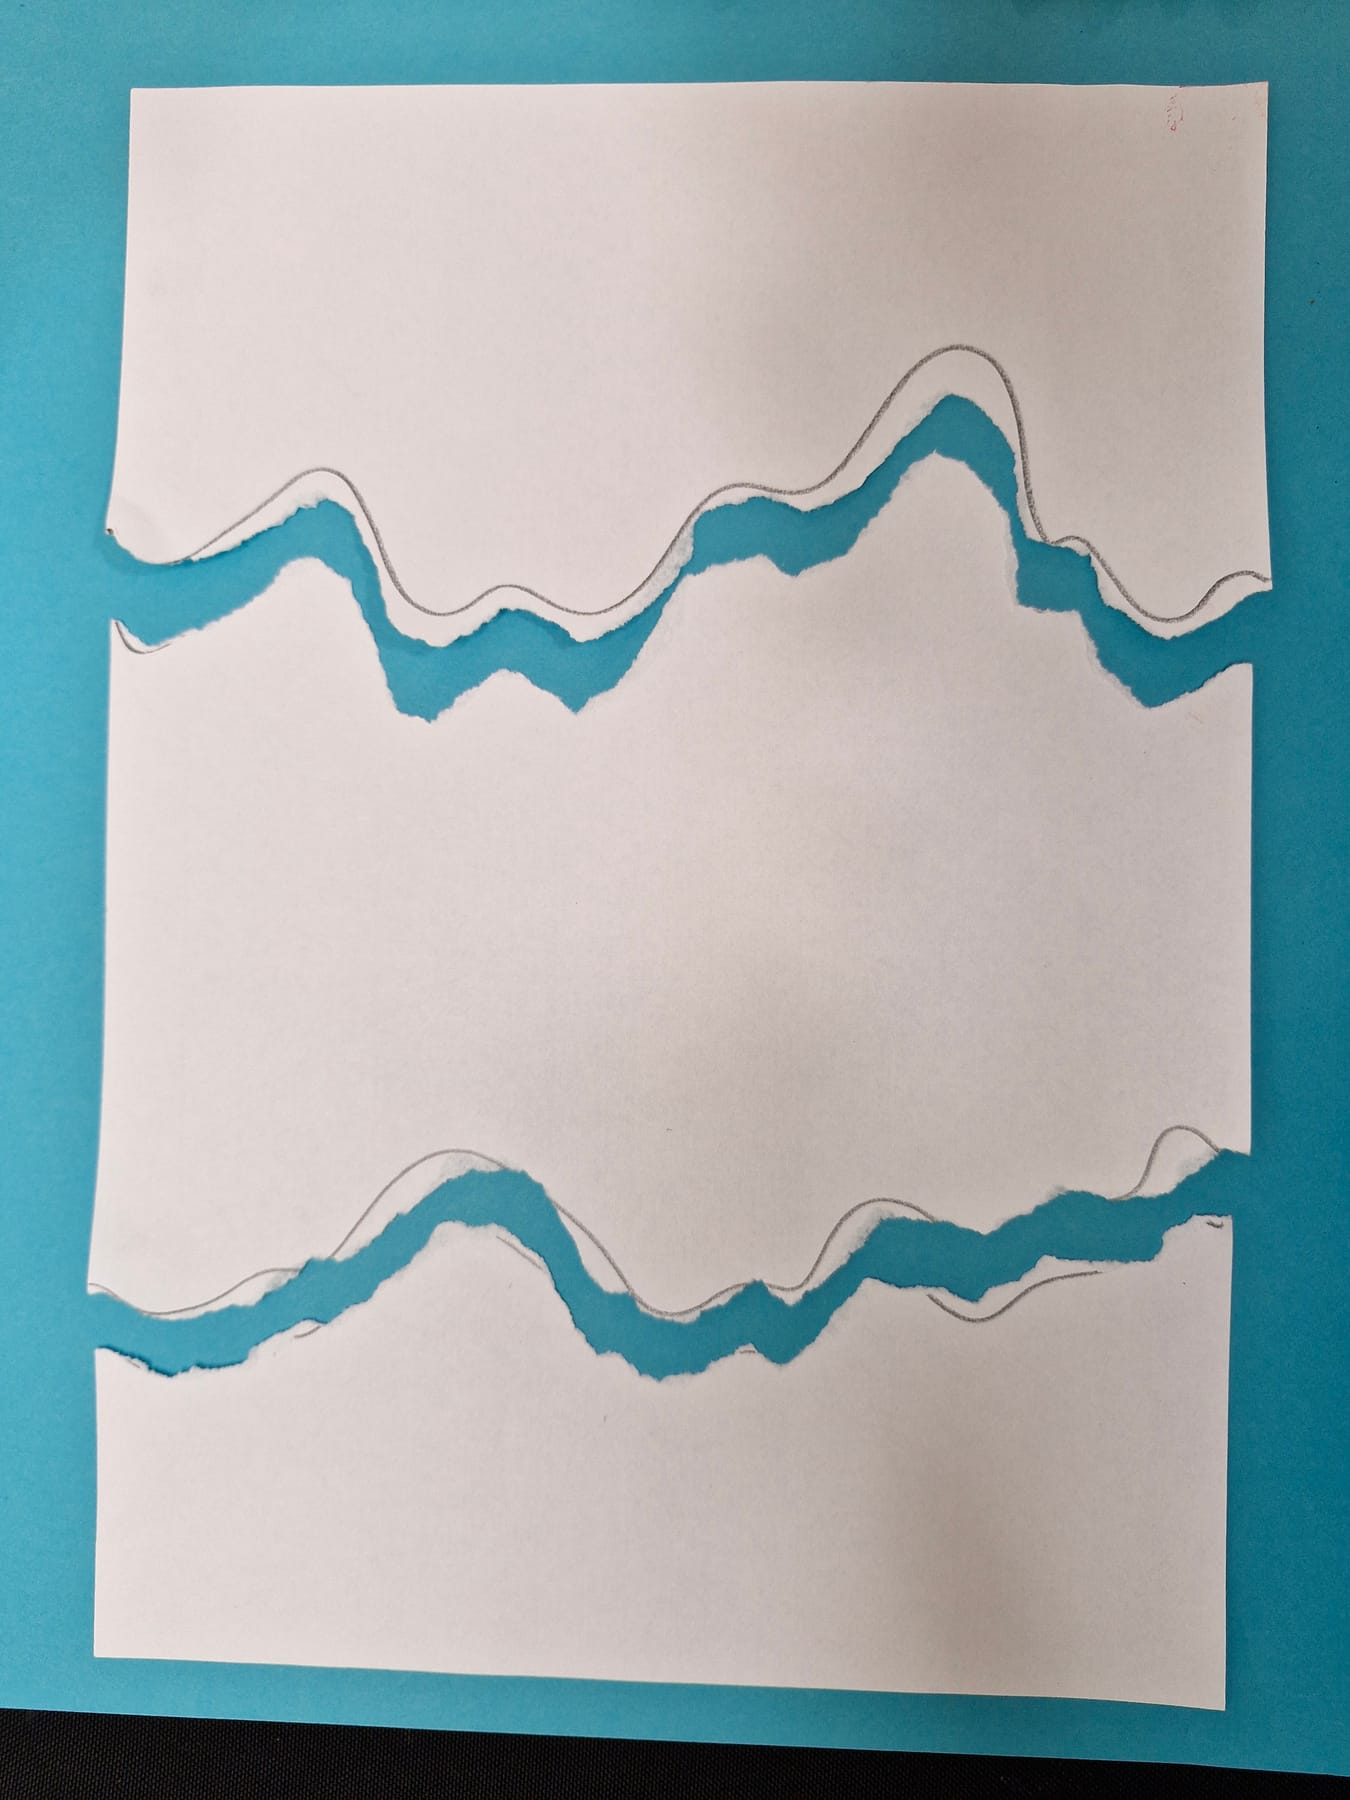
Scissors make a sharp line, and a sharp line prints like a stripe. The fuzzy torn edge is the part doing the magic.
-
Print your first green ribbon
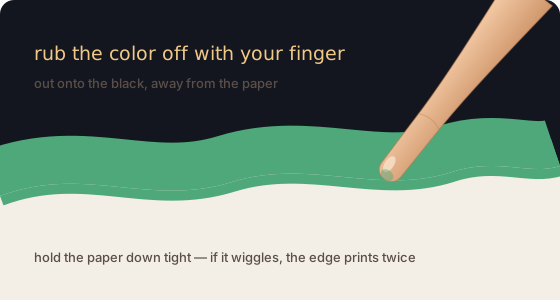
Take one torn piece. Color green along the torn edge — a fat stripe, about as wide as your finger. Lay that piece on the black paper, green side down, near the bottom. That is where your lowest light will be. Hold it down tight with one hand so it cannot wiggle. With a fingertip on your other hand, rub the green off the edge and out onto the black. Rub away from the paper, not along it. Now lift the paper straight up. There is your first ribbon of light — sharp on one side, soft and fading on the other.
about 8 minutes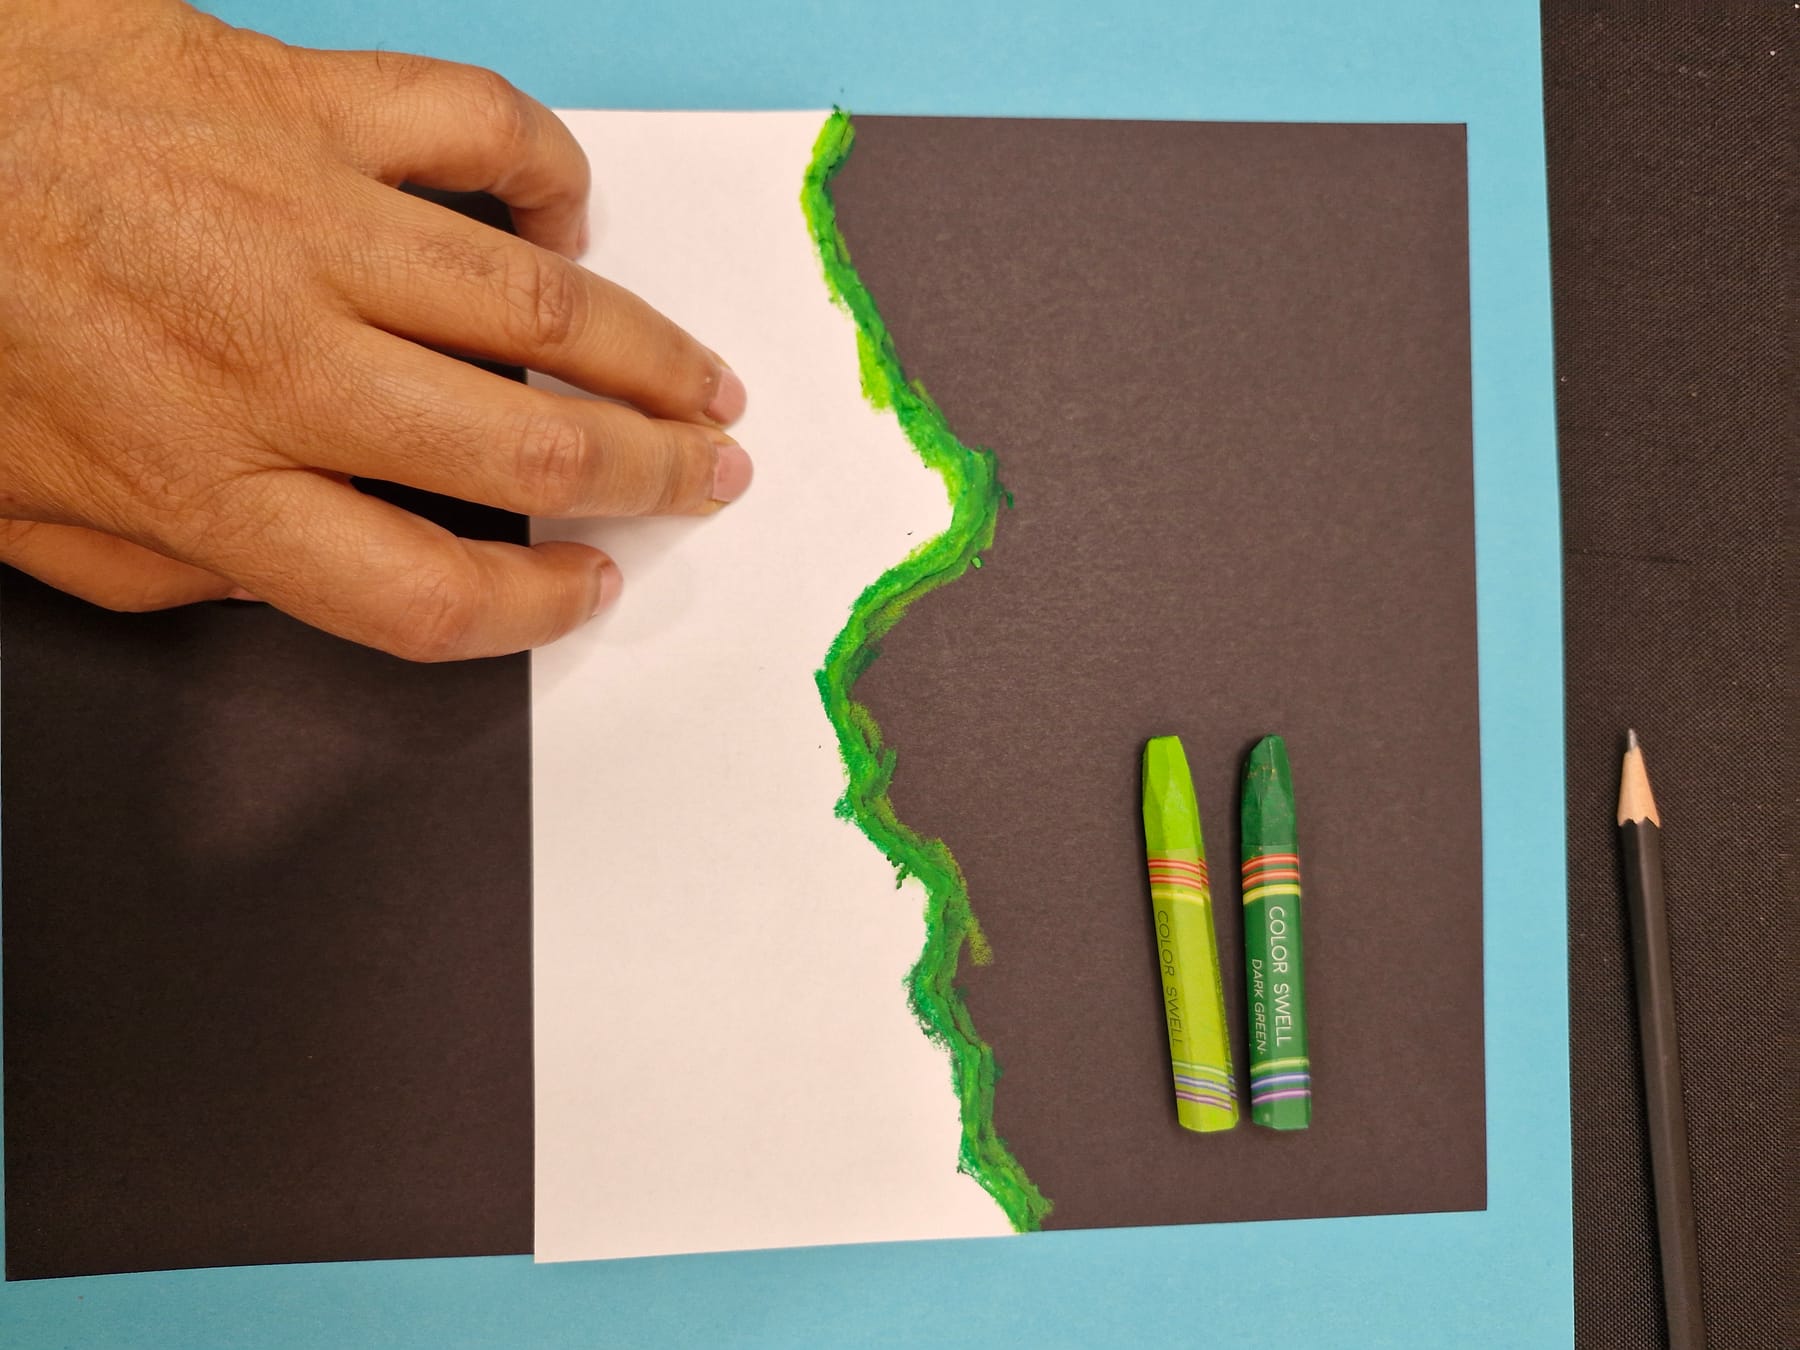
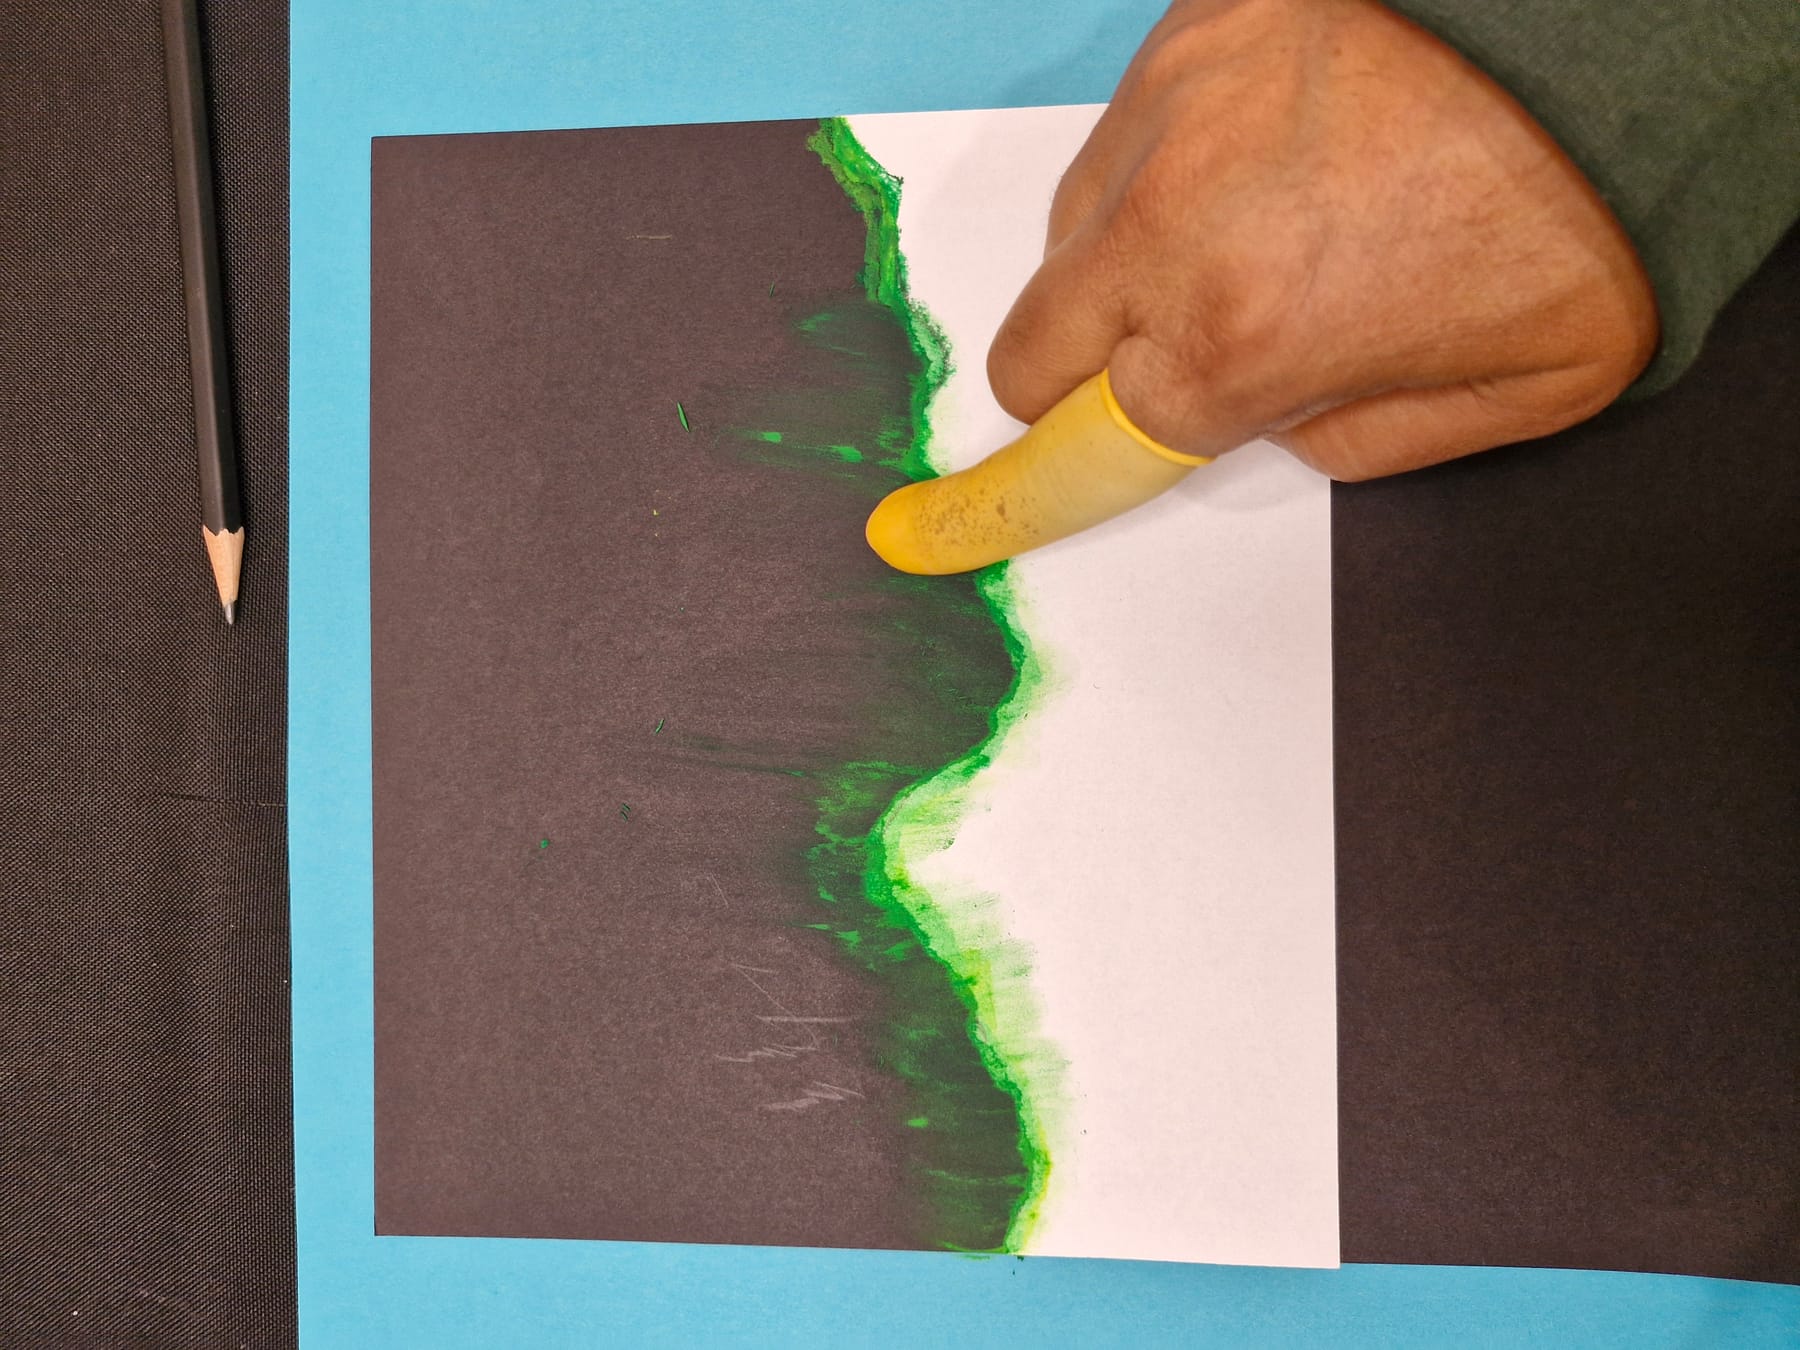
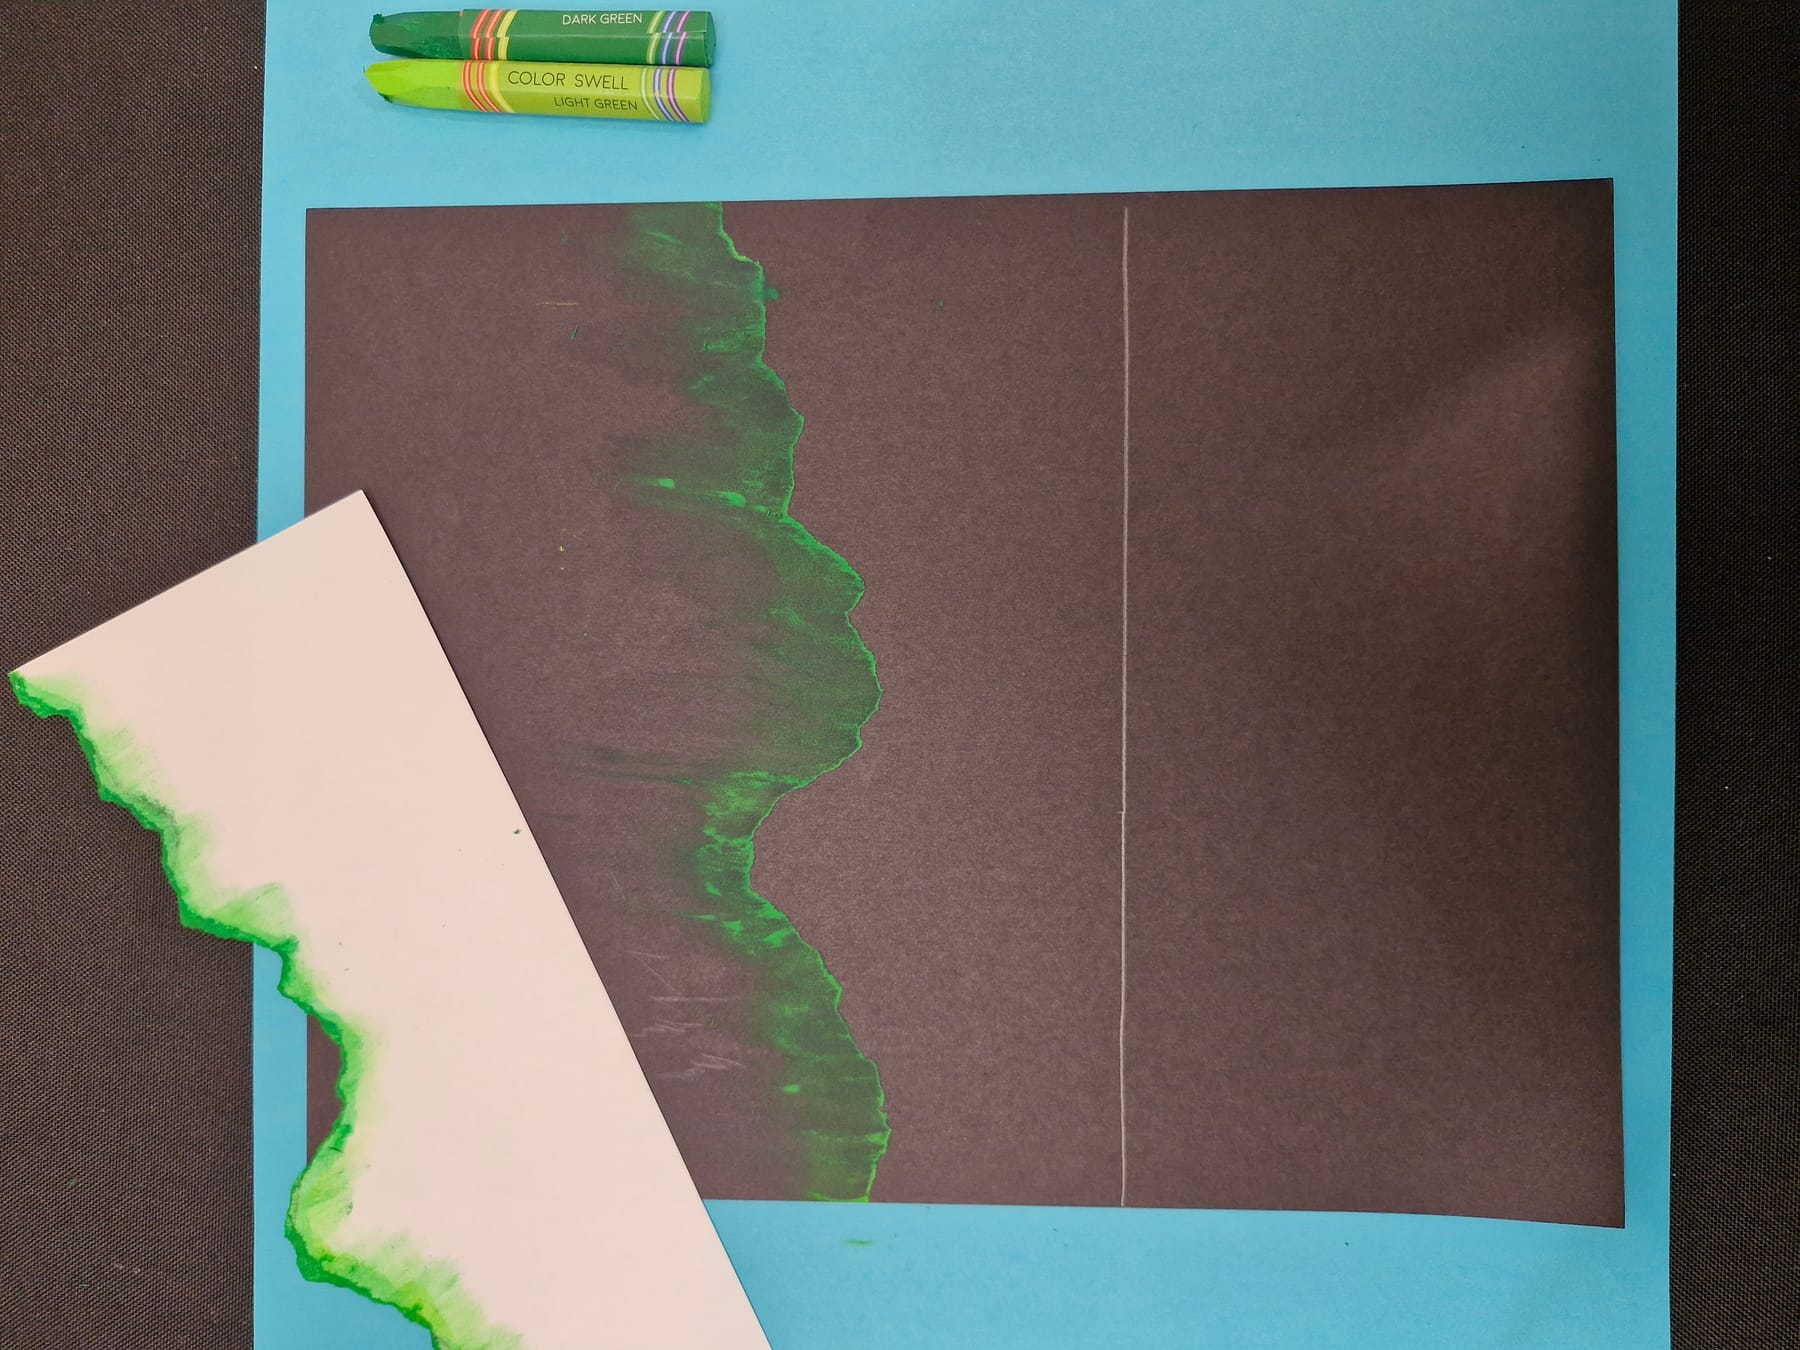
Hold the paper down tight. If it wiggles even a little, the edge prints twice and your glow turns smudgy.
-
Stack pink and red above it
Now do the same thing two more times. Color pink along the edge of one piece, and red along the edge of the last one. Print the pink ribbon above the green one. Print the red one highest of all. Let each ribbon drift down into the one below it. That is the real order of the sky: green light down low, and red light way, way up high.
about 10 minutes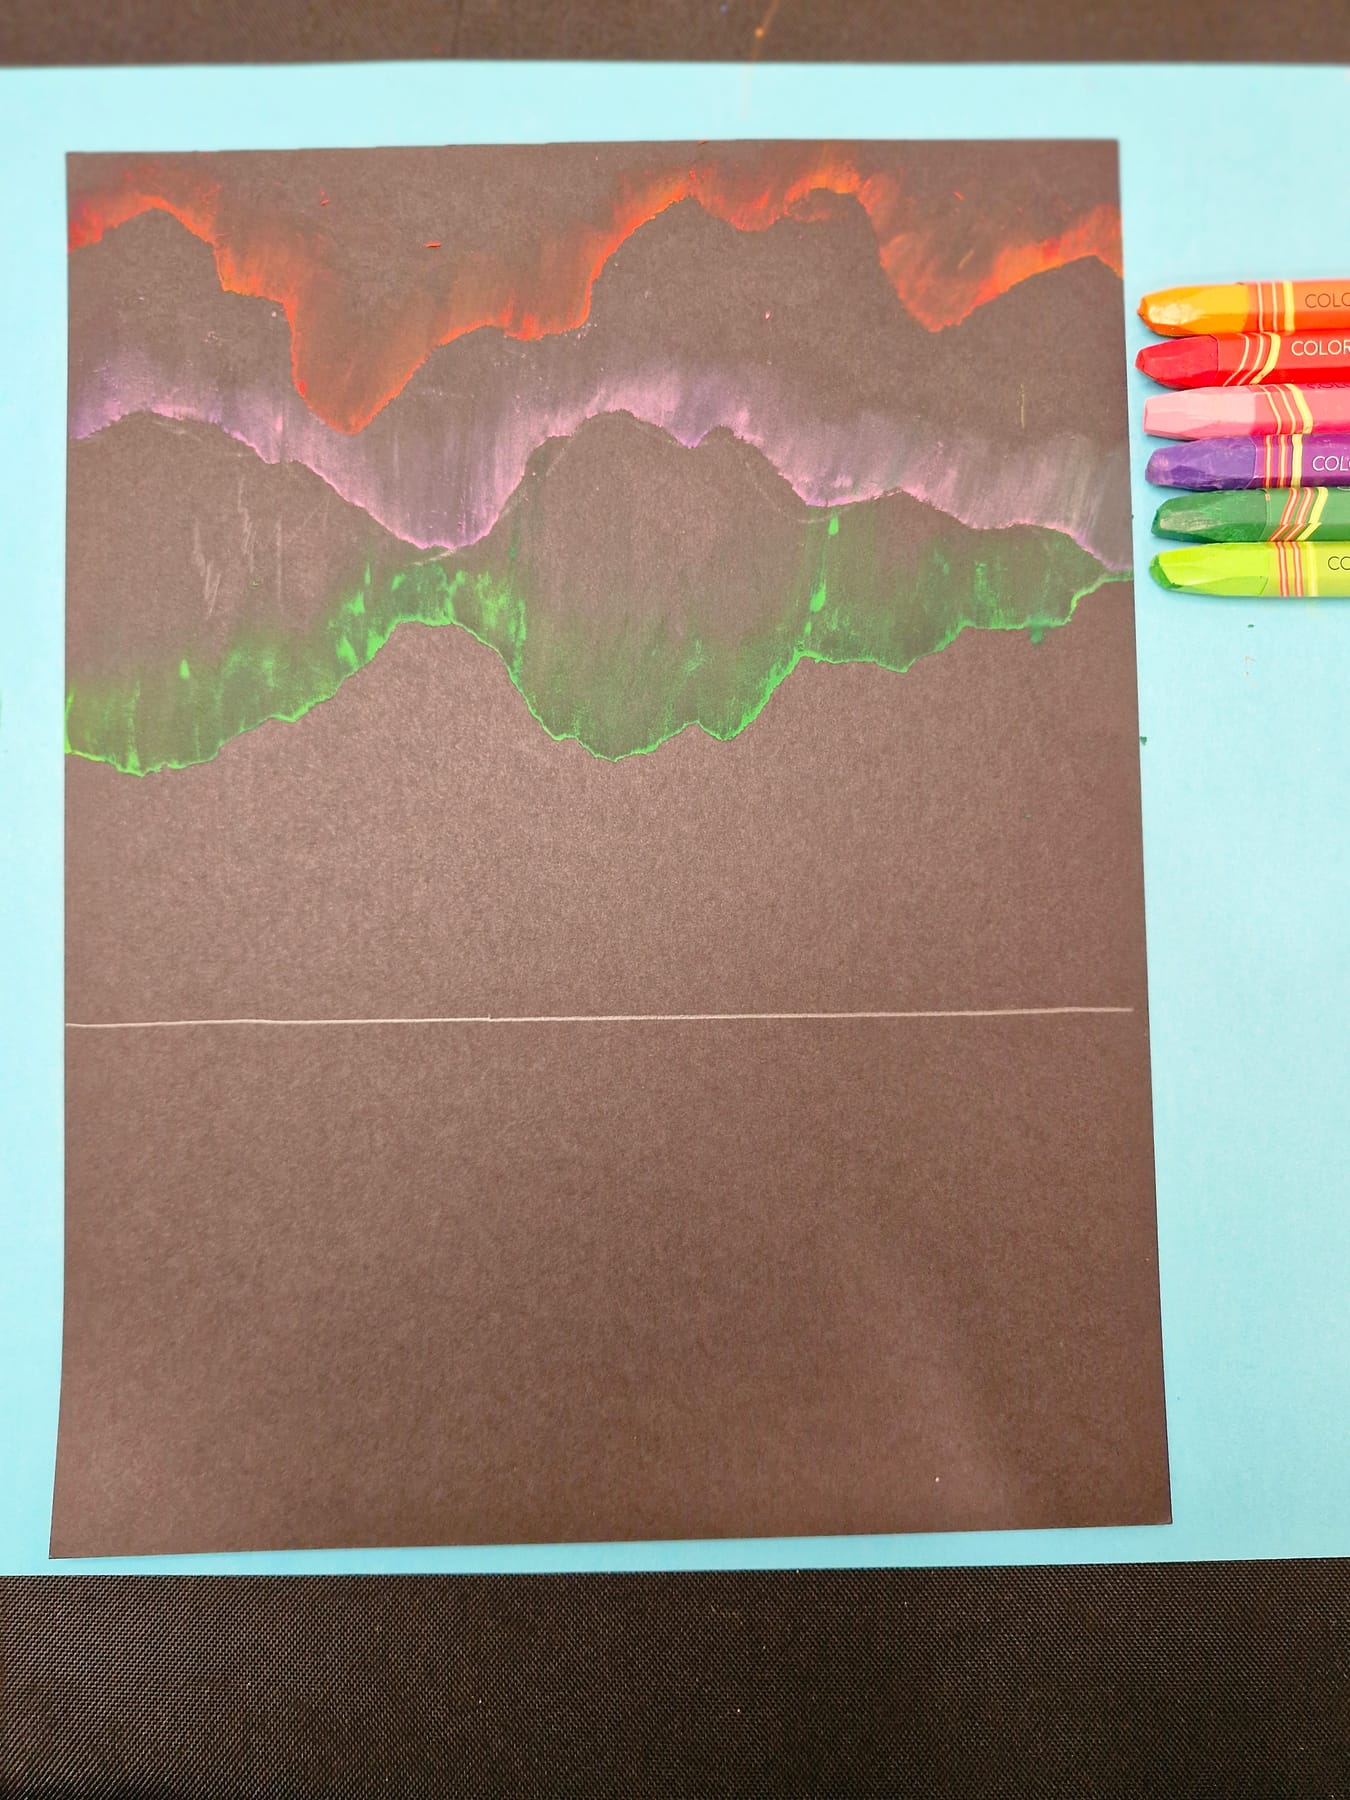
Color an edge only when you are ready to use it. A colored edge left lying around prints itself somewhere you did not want it.
-
Cut out your skyline and your orca
Let your sky rest for a minute. Now cut around the printed Seattle skyline and the orca. Go slowly and stay right on the line. A clean, sharp edge is what will make them look solid against all that light. Hold the skyline up against your sky before you glue anything, and decide where you want it to sit.
about 8 minutes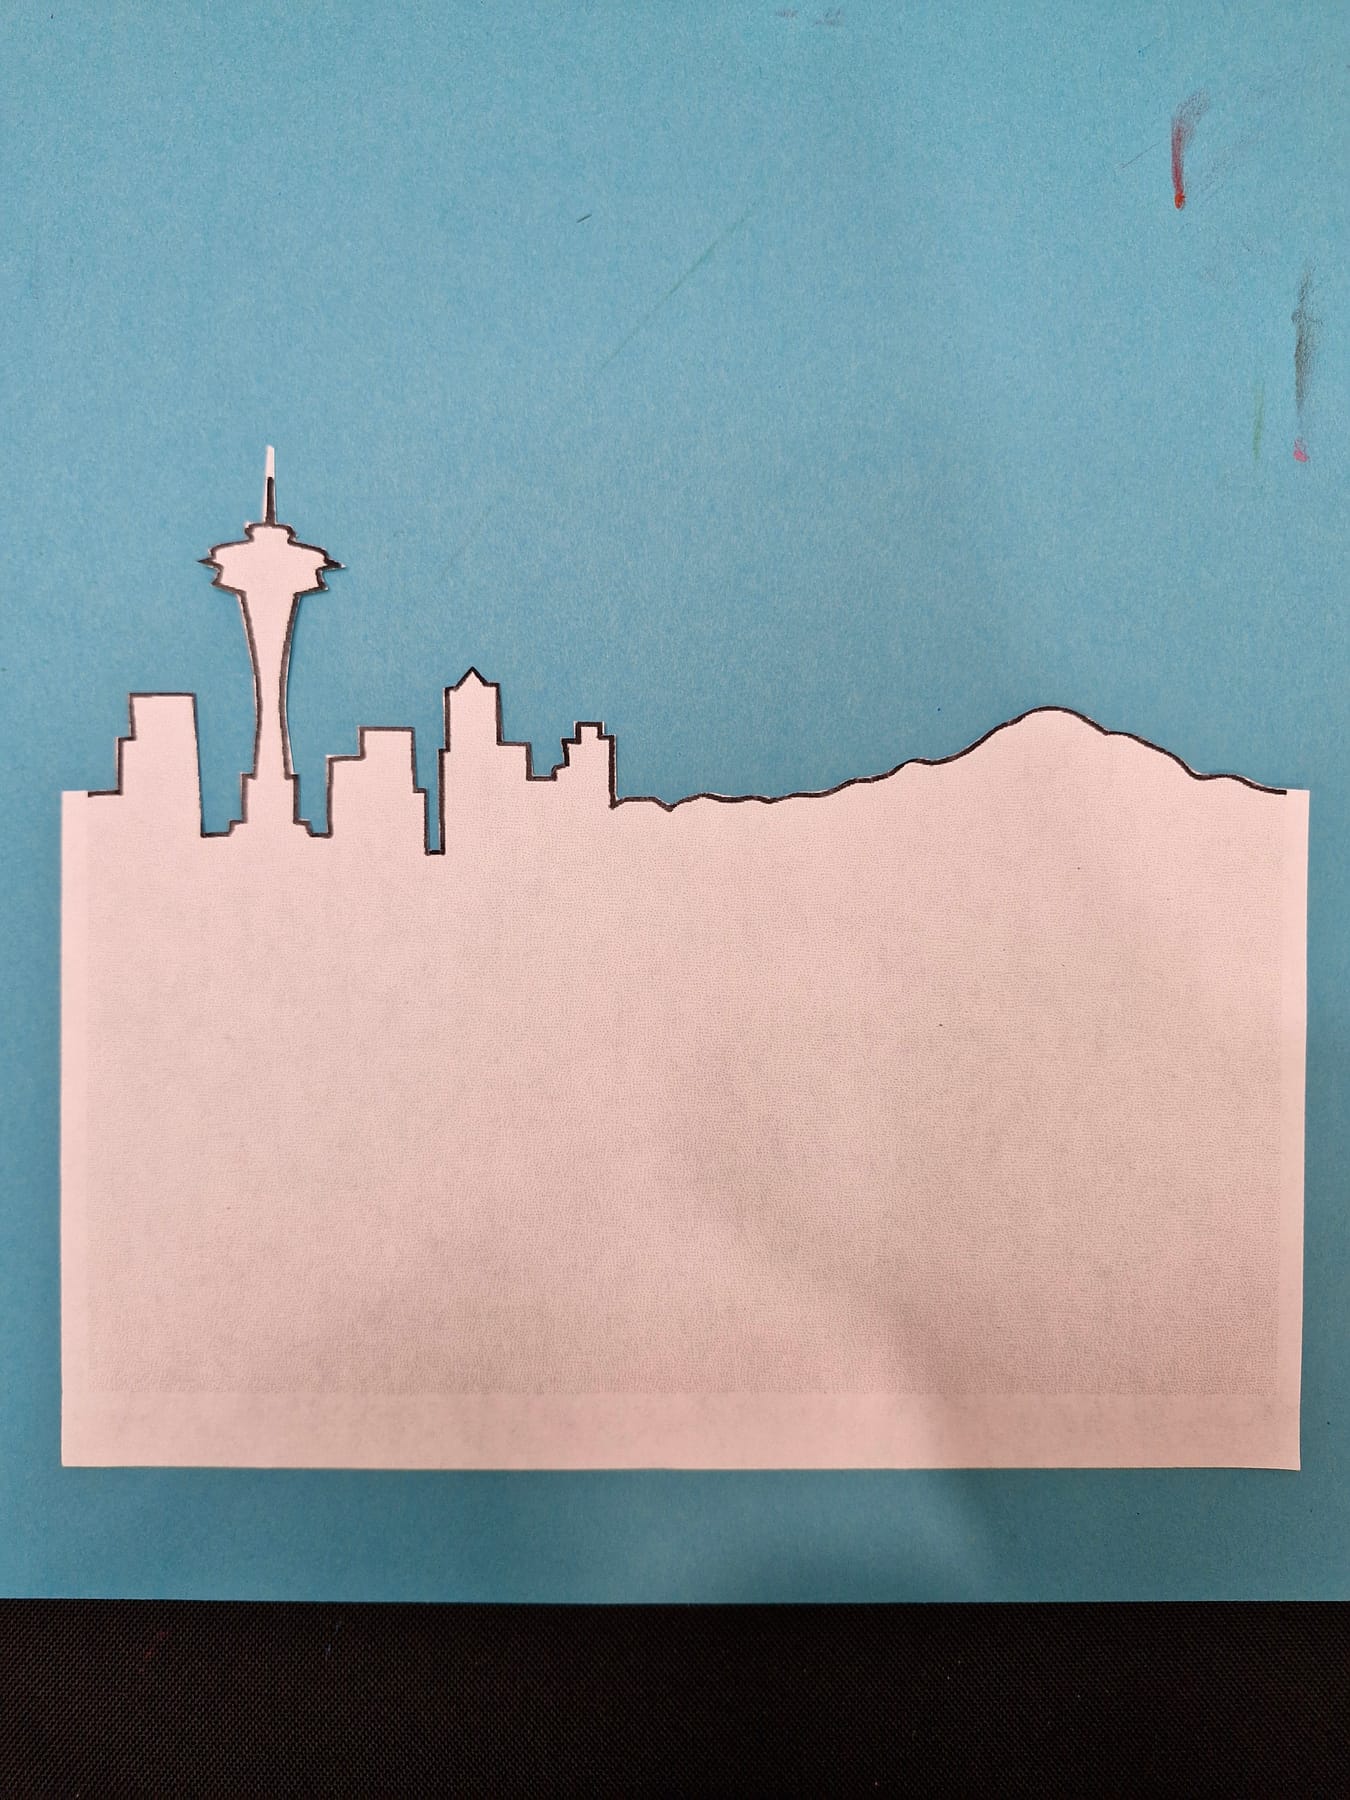
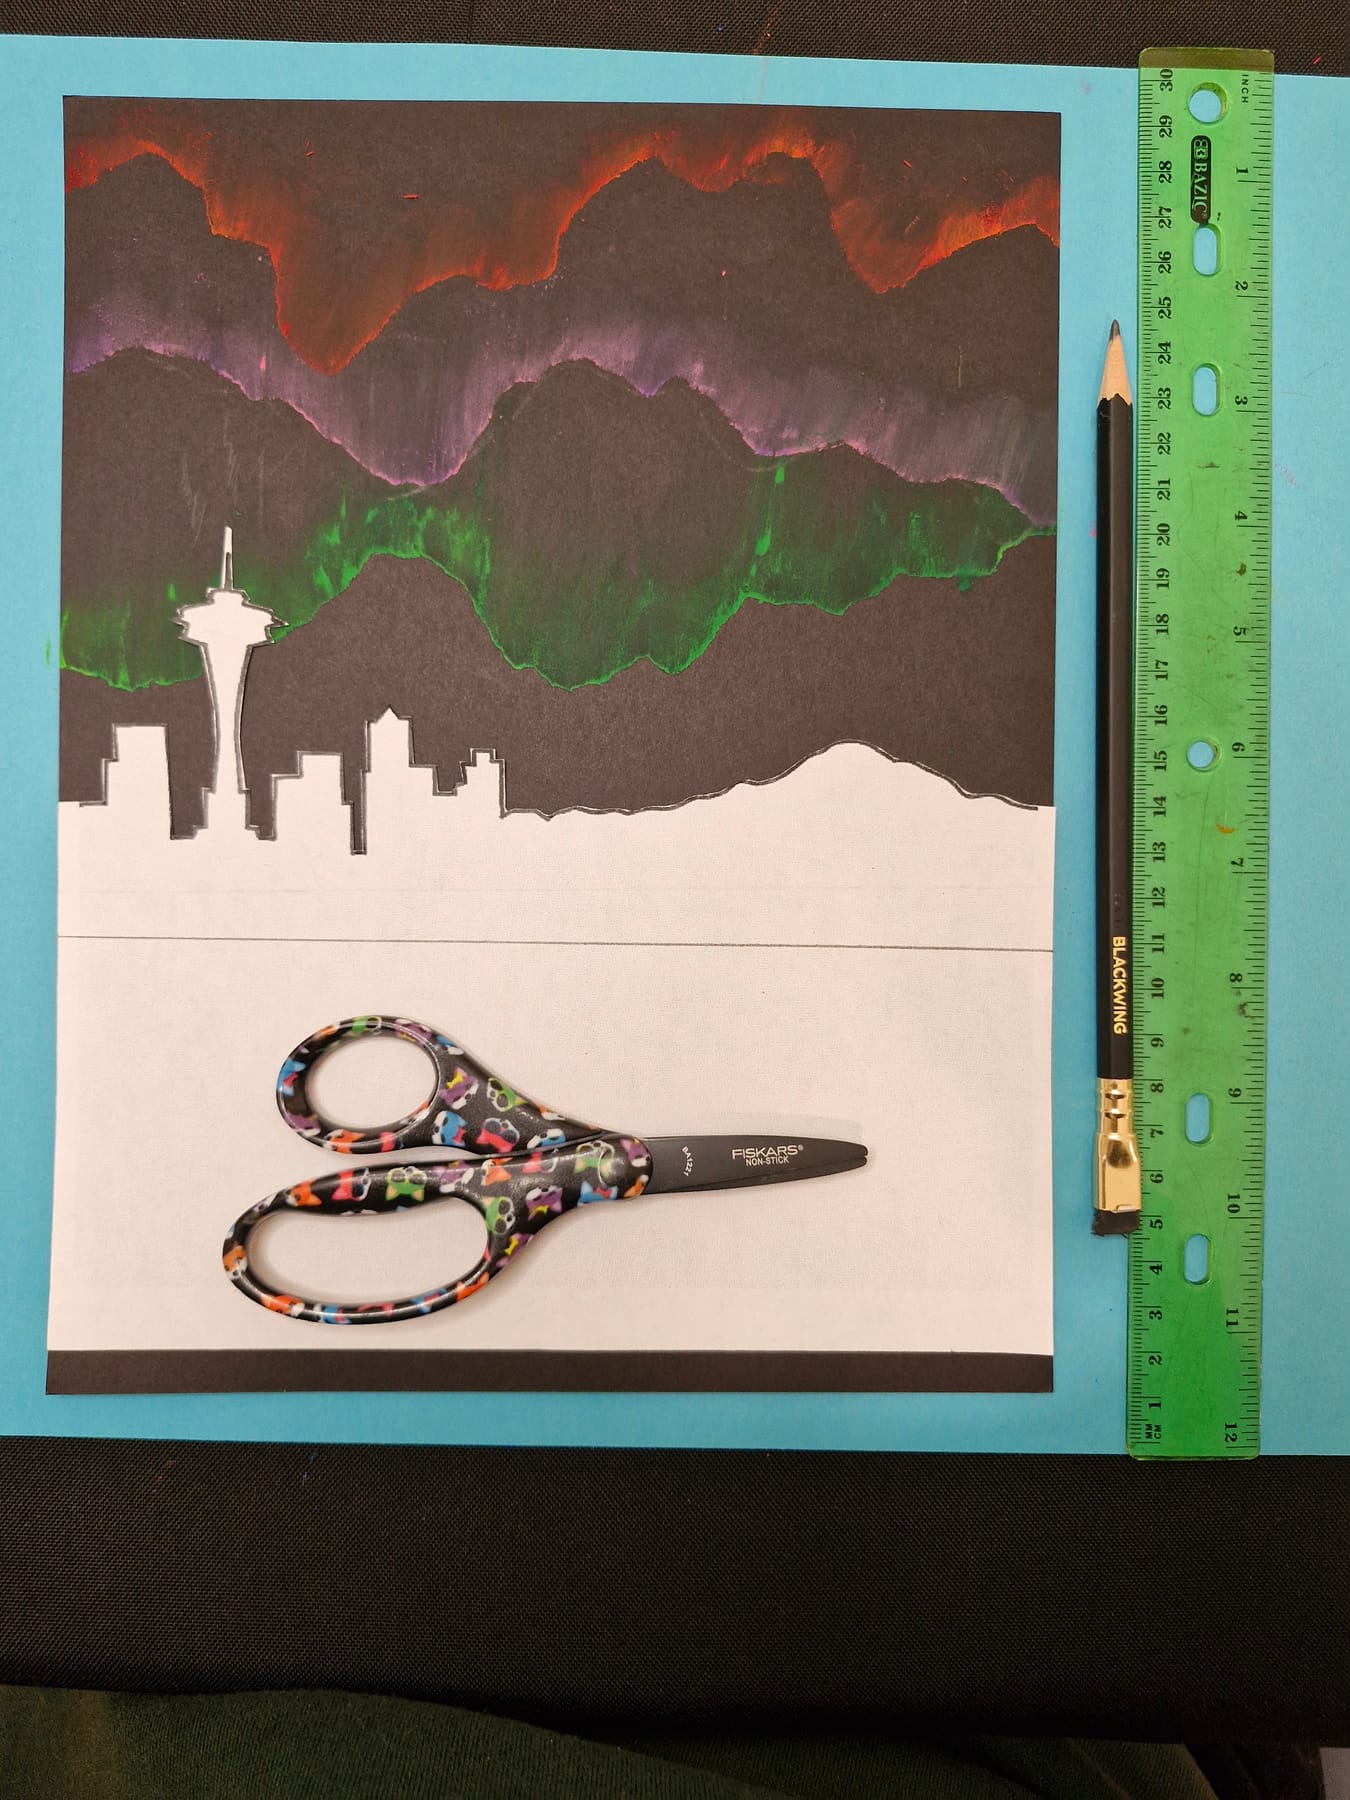
Cut the skyline as one long strip, so the buildings stay in a row.
-
Glue our city in underneath
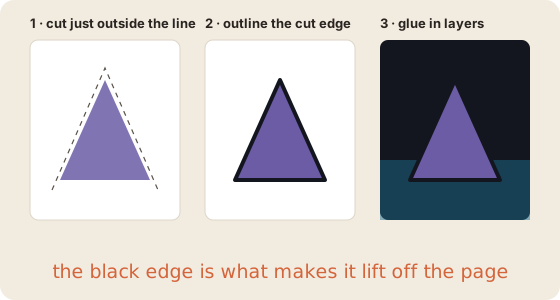
Glue the skyline along your horizon line, and put Mt. Rainier behind it. Spread your glue in the middle of each shape, not around the edges. Glue on an edge squishes out and shines when it dries. Everything goes down dark, and it stays dark for now — dark shapes are what make the sky above them look lit up. Leave your orca in its packet a while longer. There is no water for it to jump out of yet.
about 8 minutes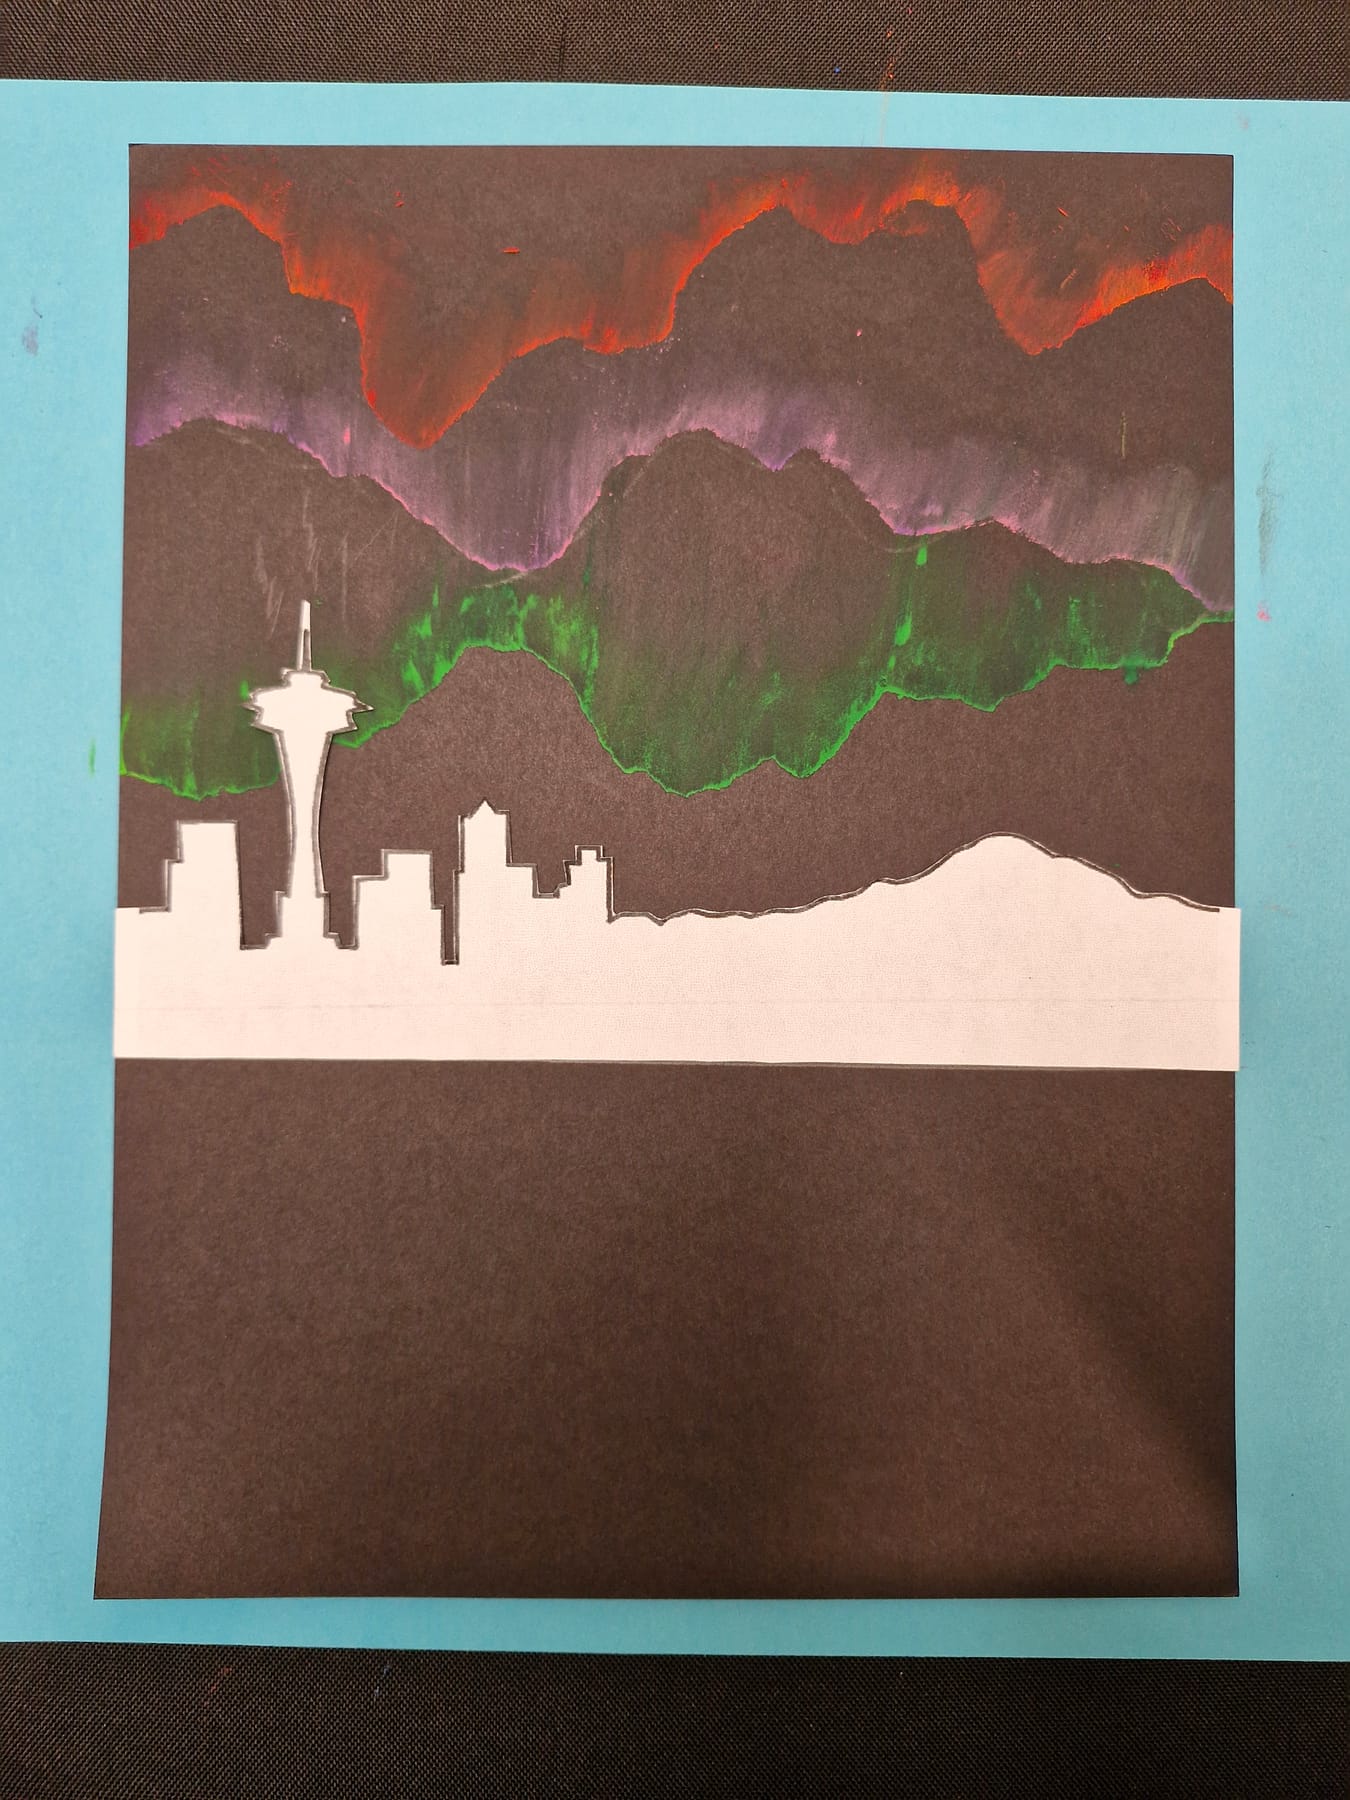
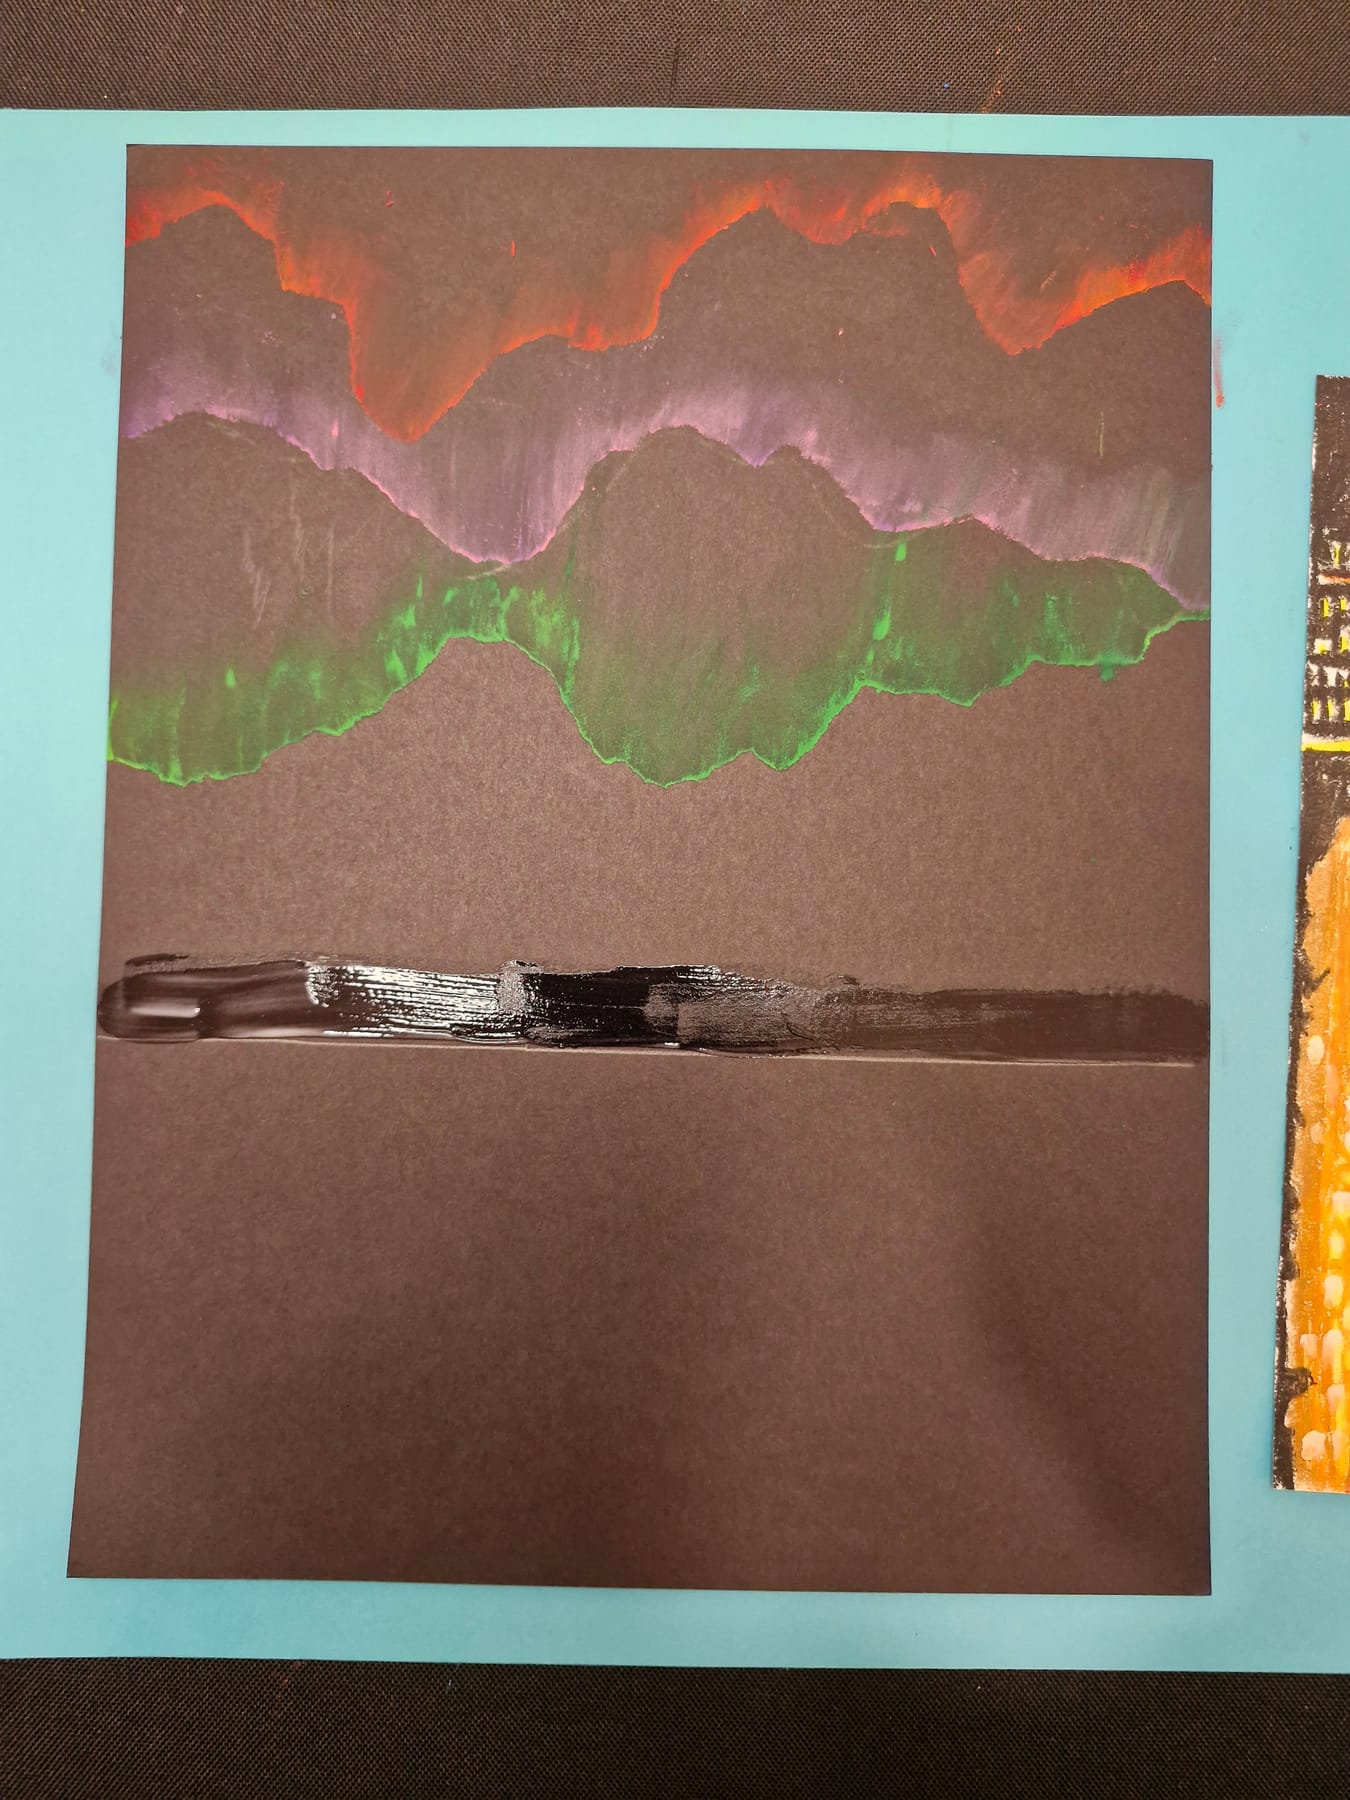
This is our sky, over our city. In 2024 people really did stand here and watch it.
-
Switch the city lights on
Now go back over the buildings with yellow and orange, laid over each other until they turn to gold. Little squares for the windows, a row of street lights along the waterfront, and the Space Needle brightest of all. Keep every bit of it inside the dark shapes so the edges stay sharp. Then brush a soft pale blue onto Mt. Rainier, because snow holds the last of the daylight long after the city has gone dark.
about 10 minutes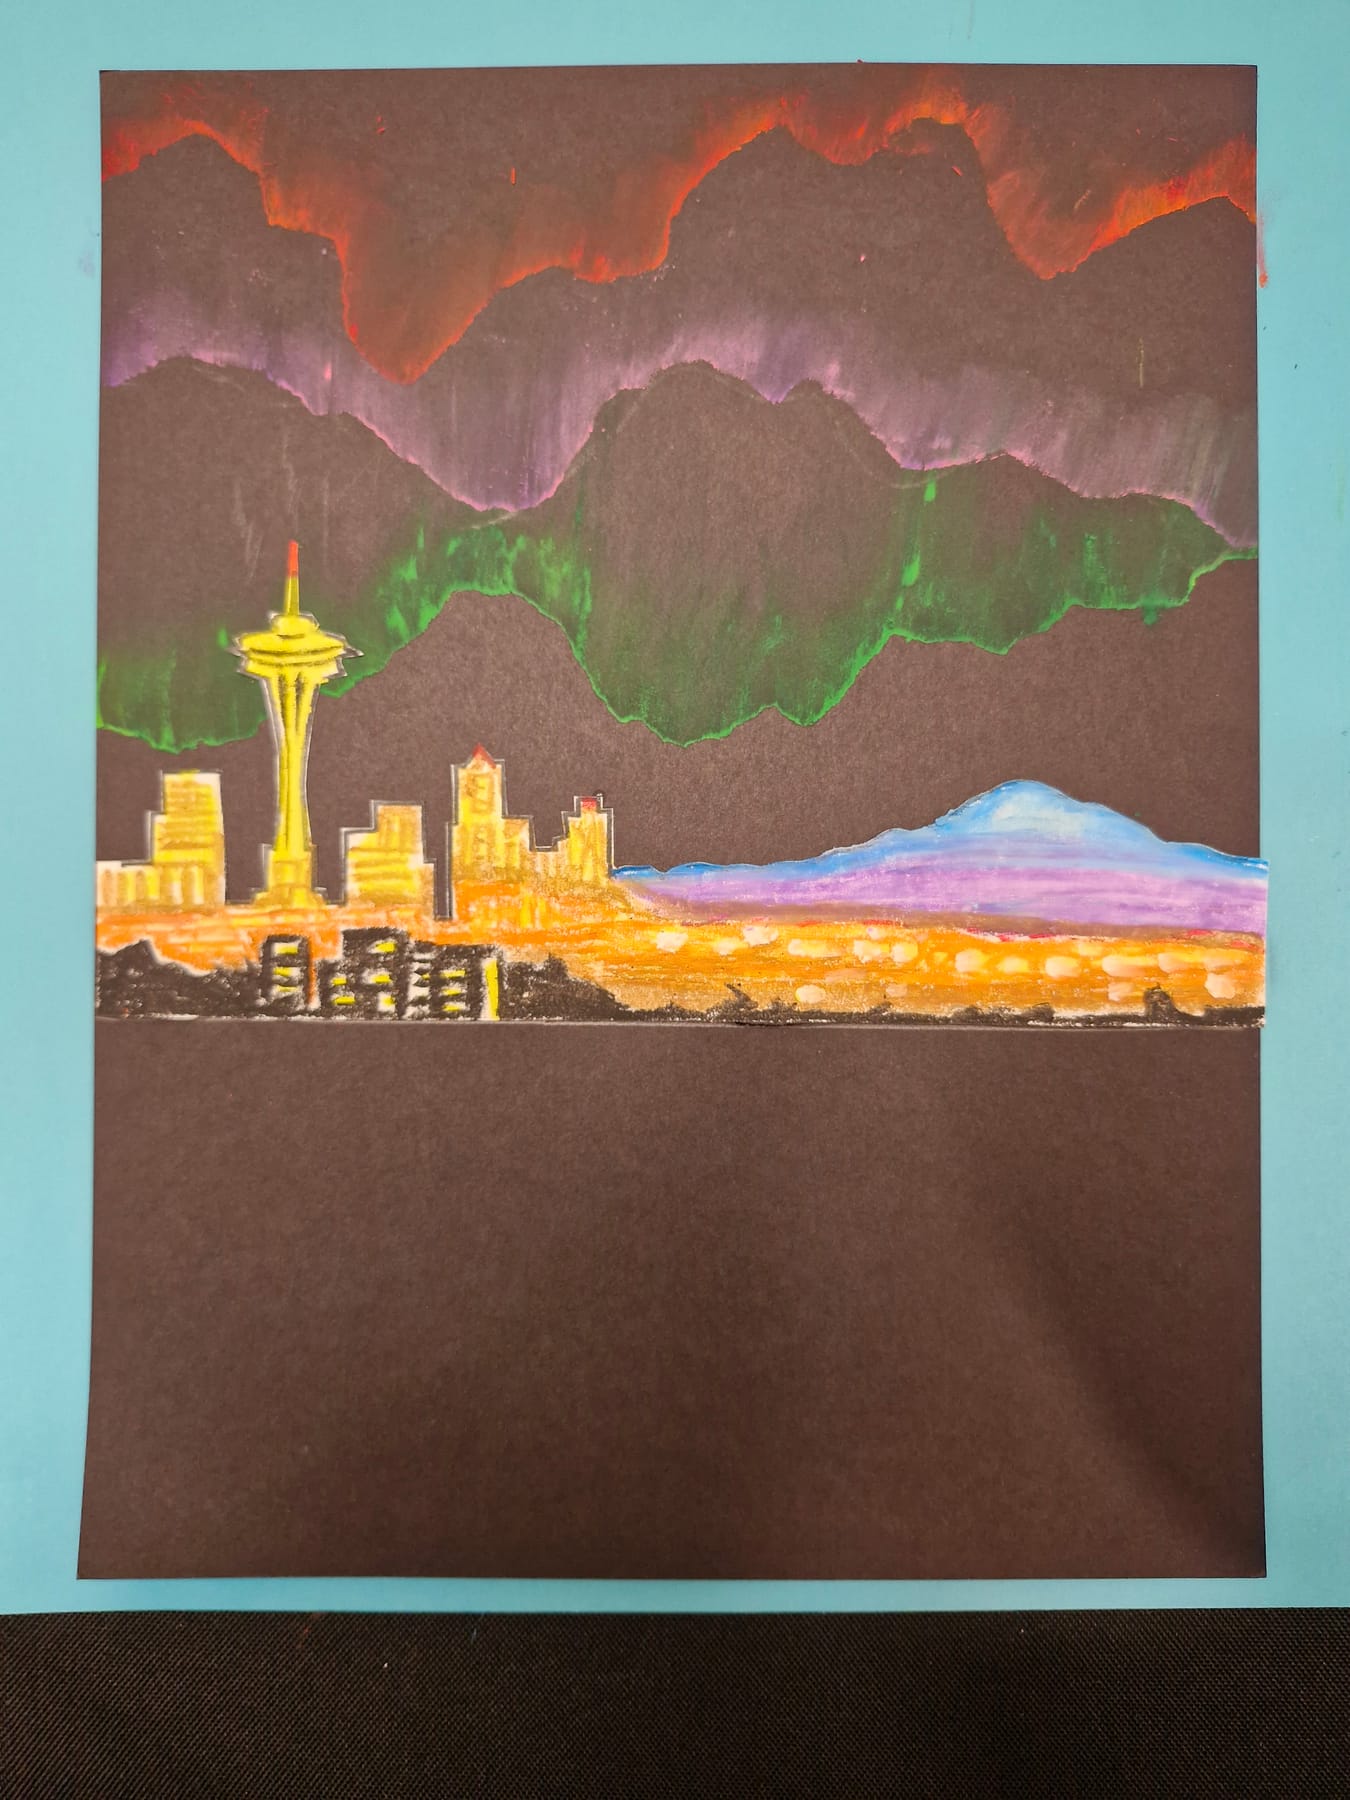
Leave some windows unlit. A building with every window on looks like a drawing. A building with a few dark ones looks like a Tuesday night.
-
Pull the light down into the water
Underneath the city is water, and water gives the light back. Pull that same warm gold straight down from each bright thing — long wobbly streaks, never sideways ones. Add a little white where the reflection is brightest, right below the Space Needle. Then stop. Water is mostly dark, and it is the few streaks that make it look wet.
about 8 minutes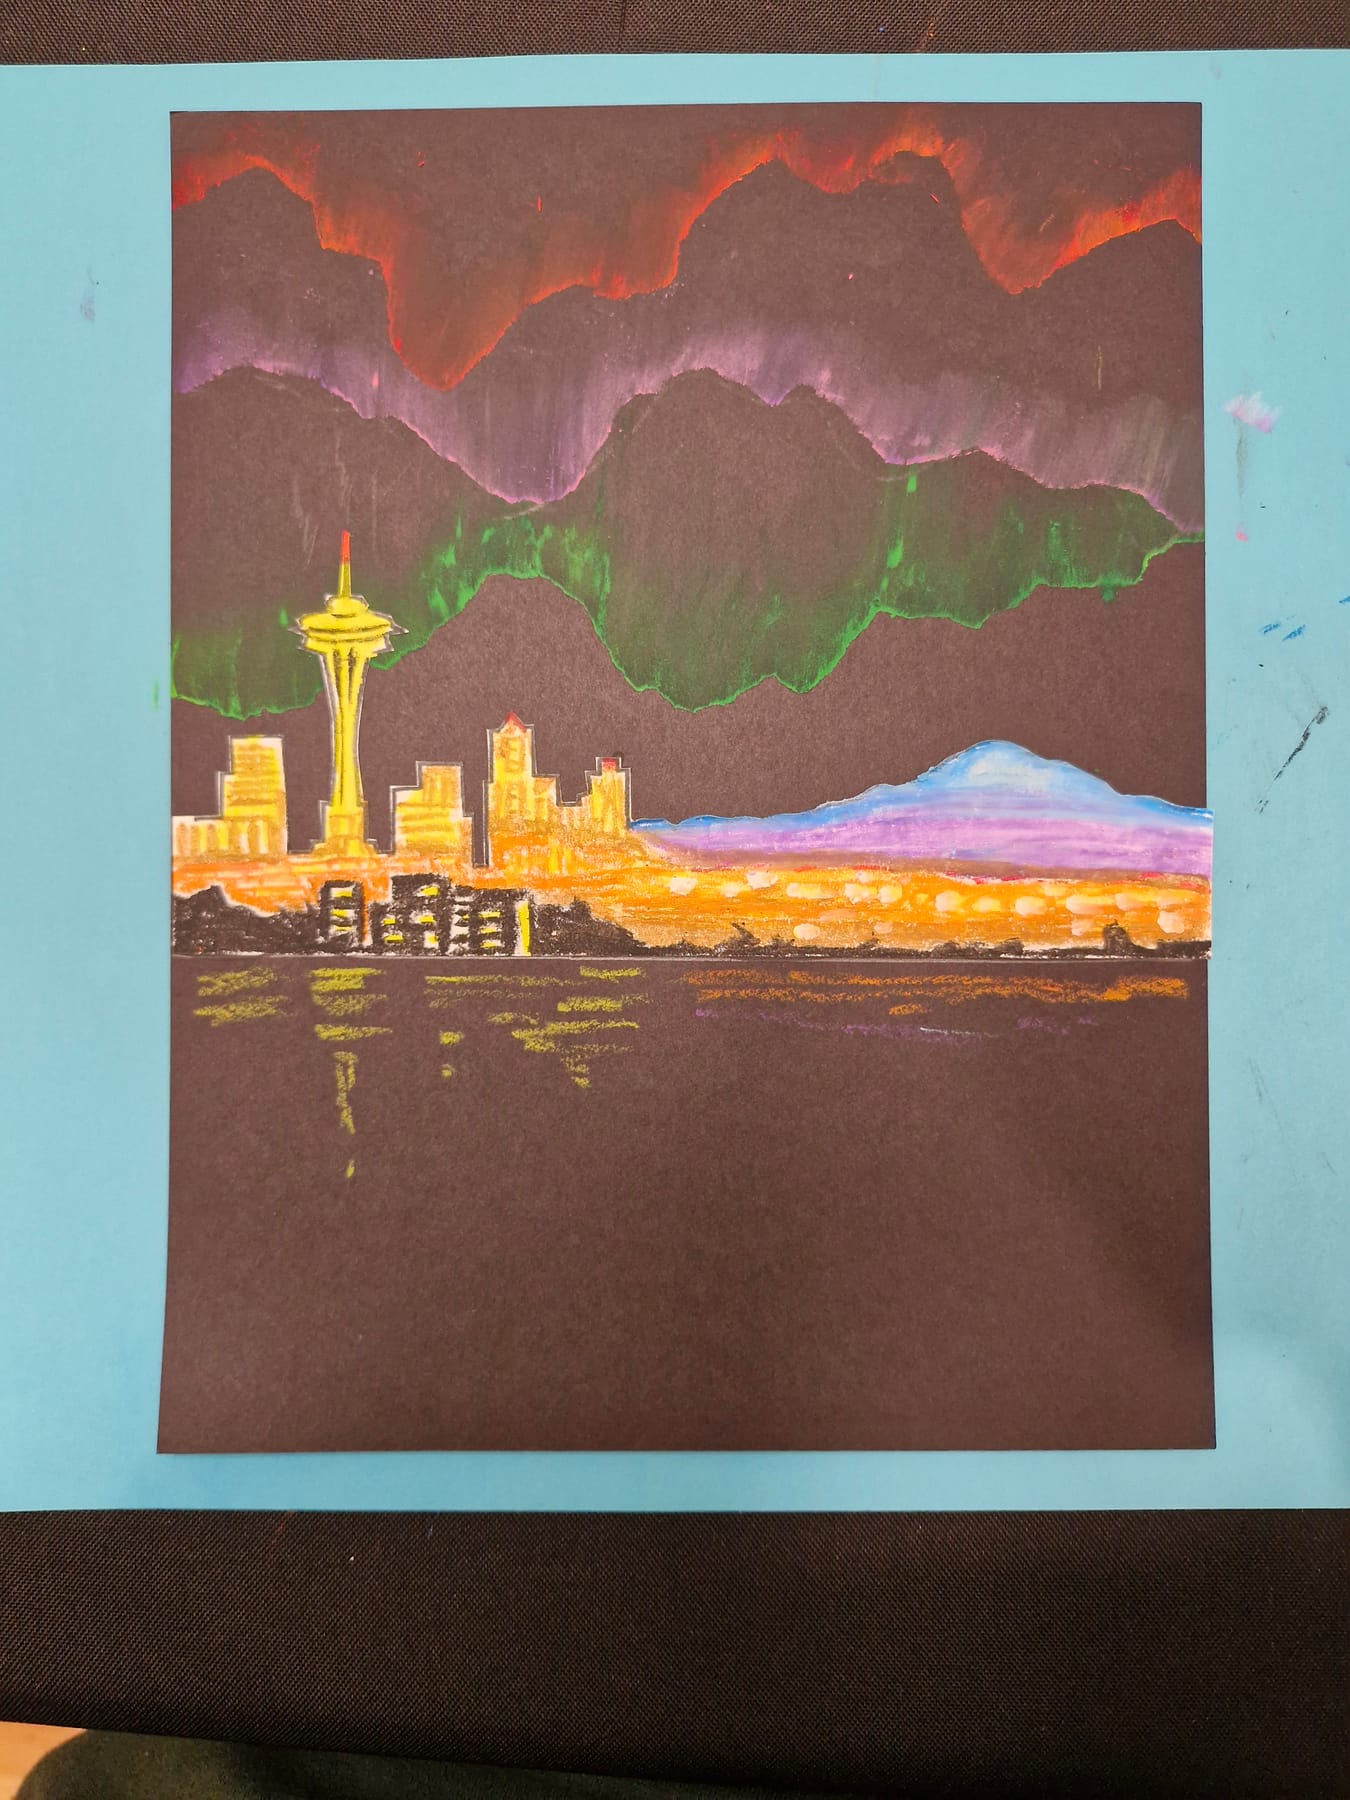
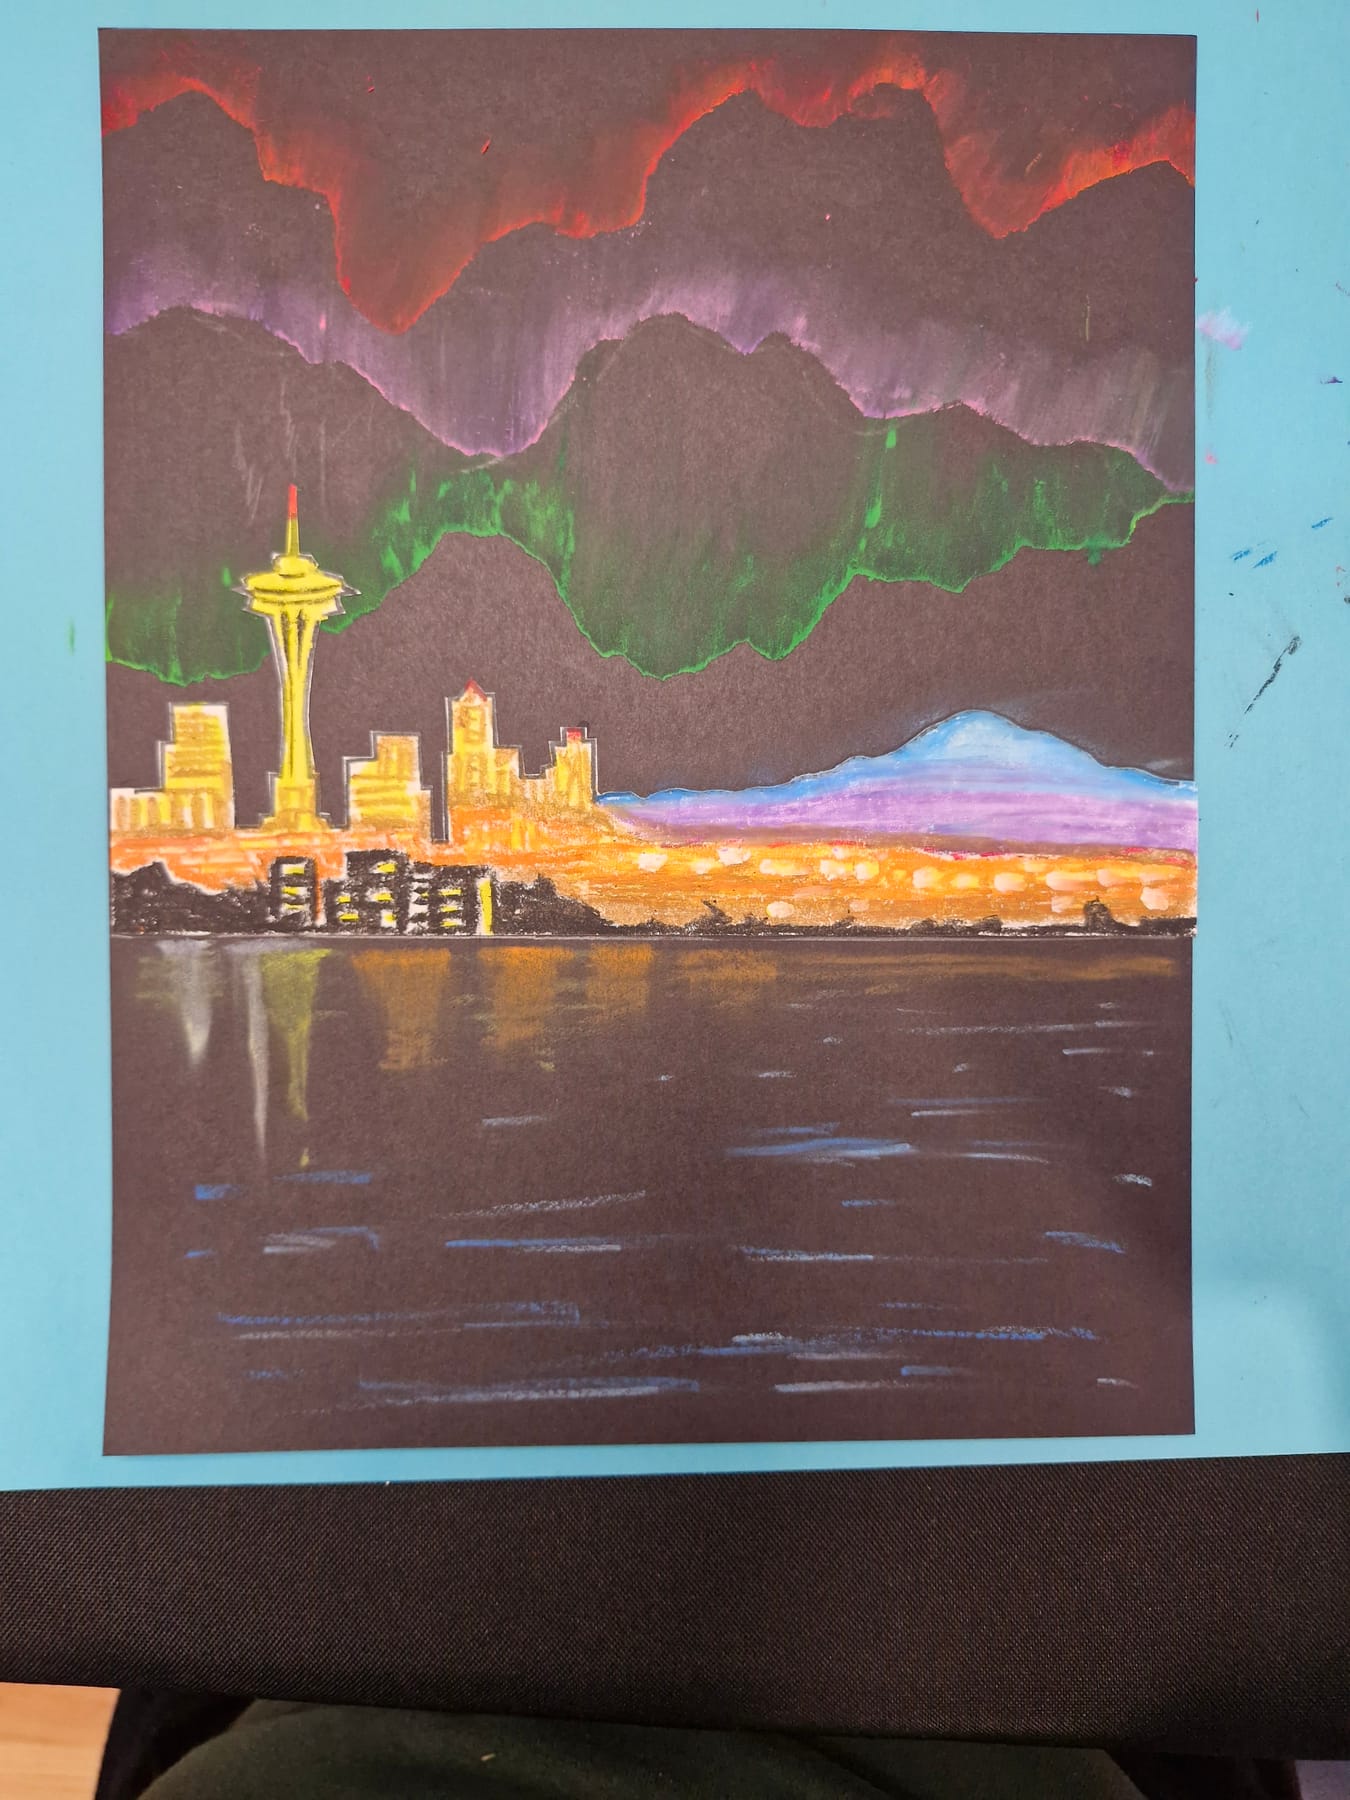
Straight down, always. A reflection that leans over looks like a mistake.
-
Finish with stars and your orca
Add a few tiny white dots for stars. Put them in the dark parts, where the aurora is faint — stars on top of the bright parts just disappear. Add a little white along the brightest curl of your aurora. Then, last of all, glue your orca breaching up out of the water. She goes on top of the reflections, because she is nearer to you than they are.
about 6 minutes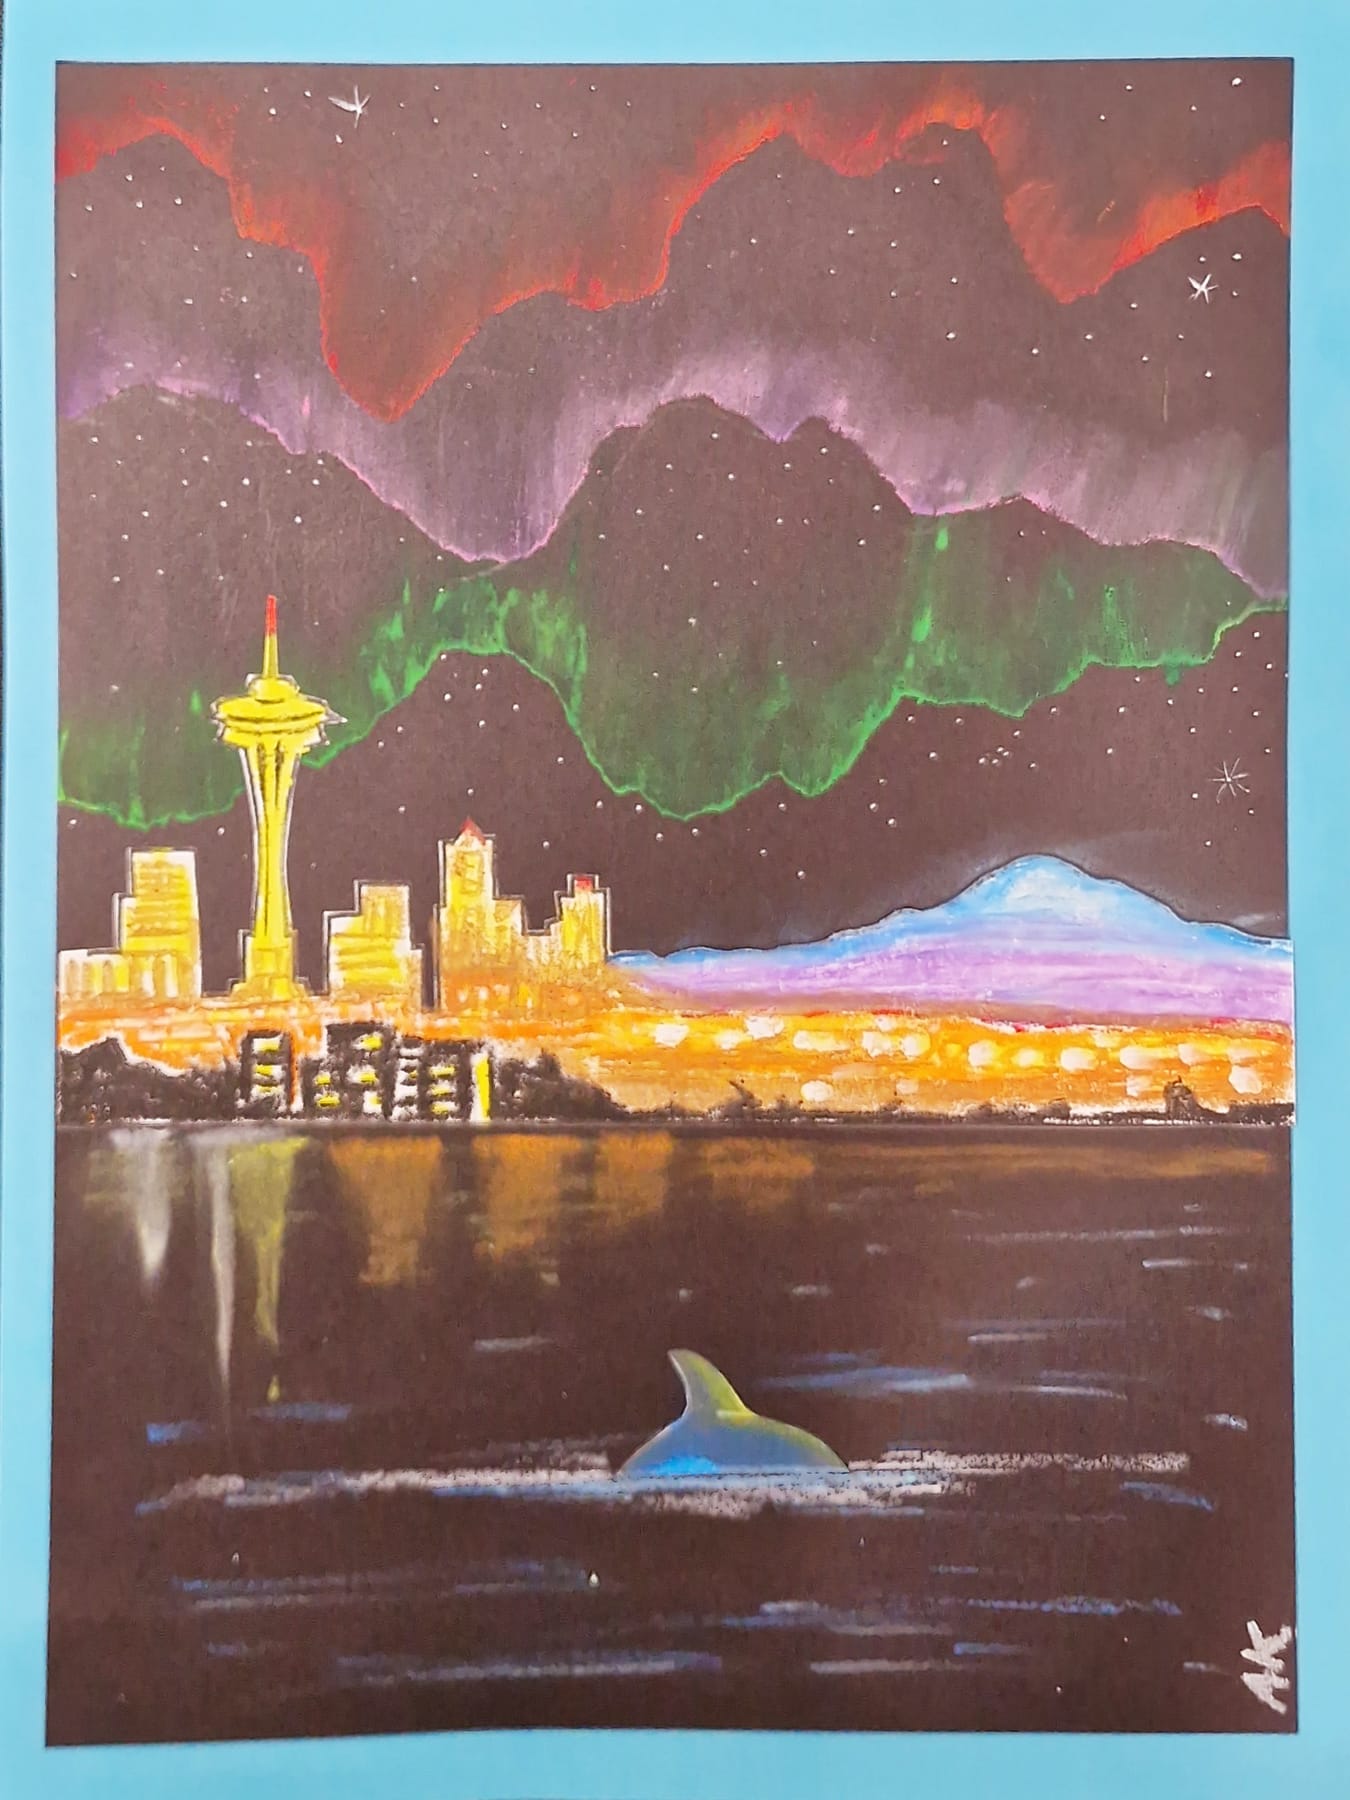
Stop before you think you are done. A few sparks look more magical than a whole lot of them.


There’s a whole library where this came from
This lesson is open to everyone. The rest open when you enroll — every stop of every lesson in your term, online, for as long as the term runs.